Exhibitions
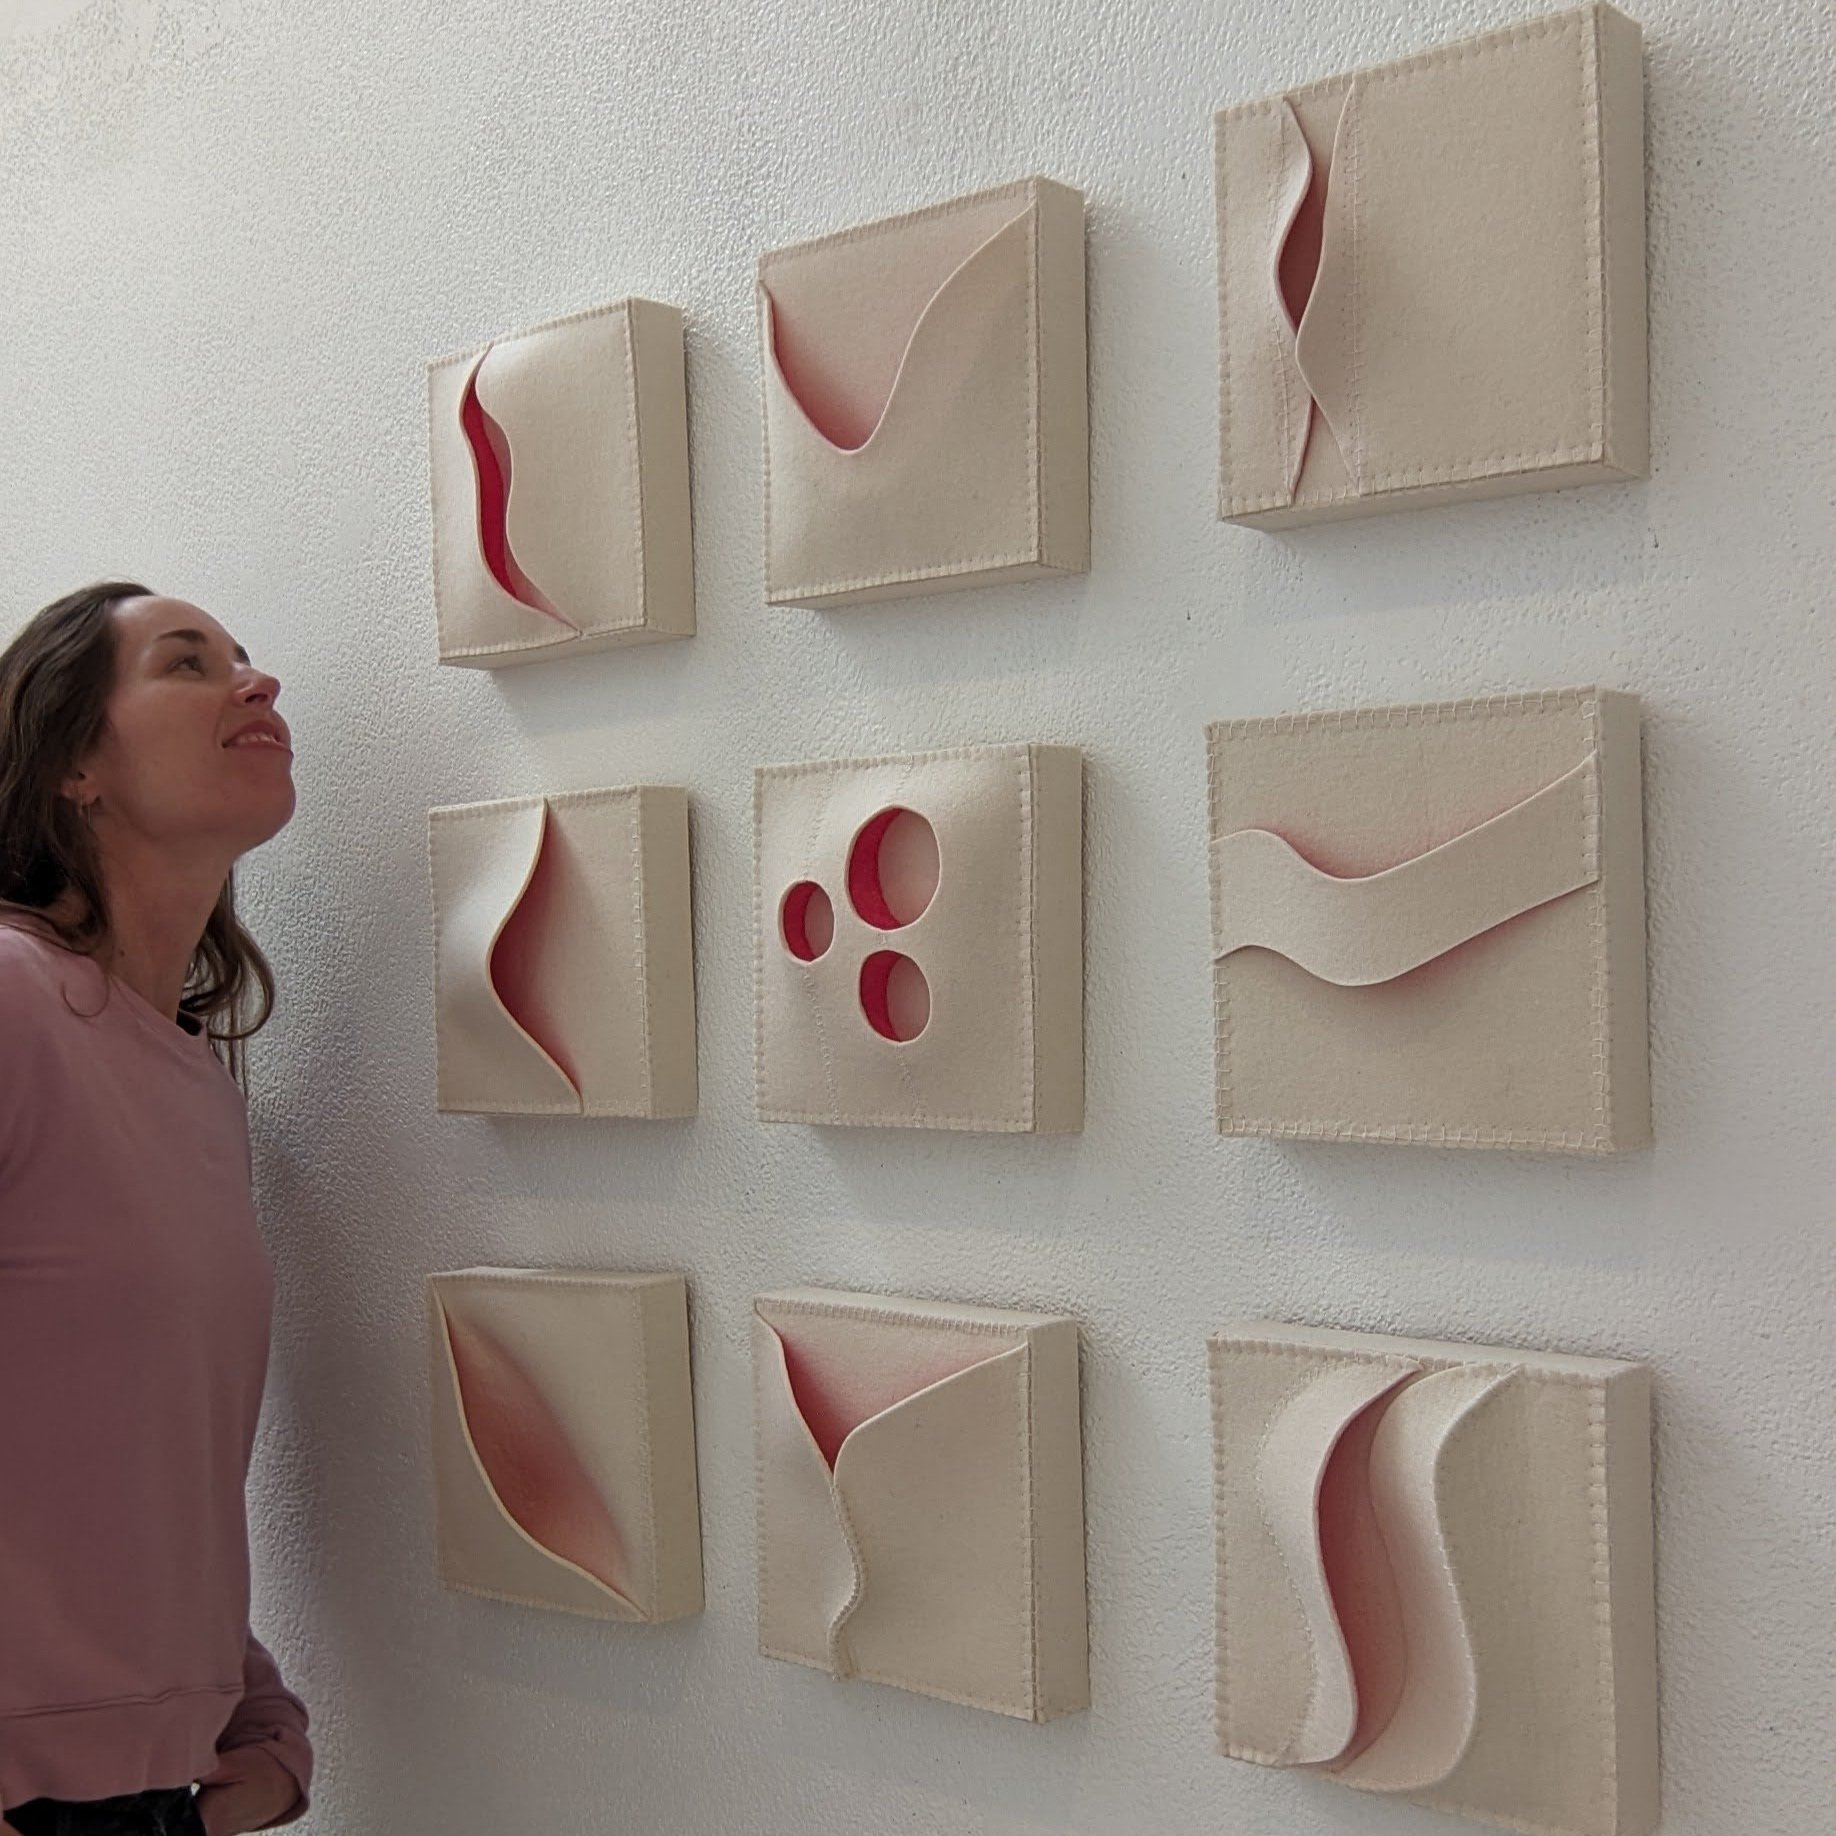
Stephanie Metz
Exhibitions
Stephanie Metz
Window Display: Artists on the Alameda


Latest Posts
Featured
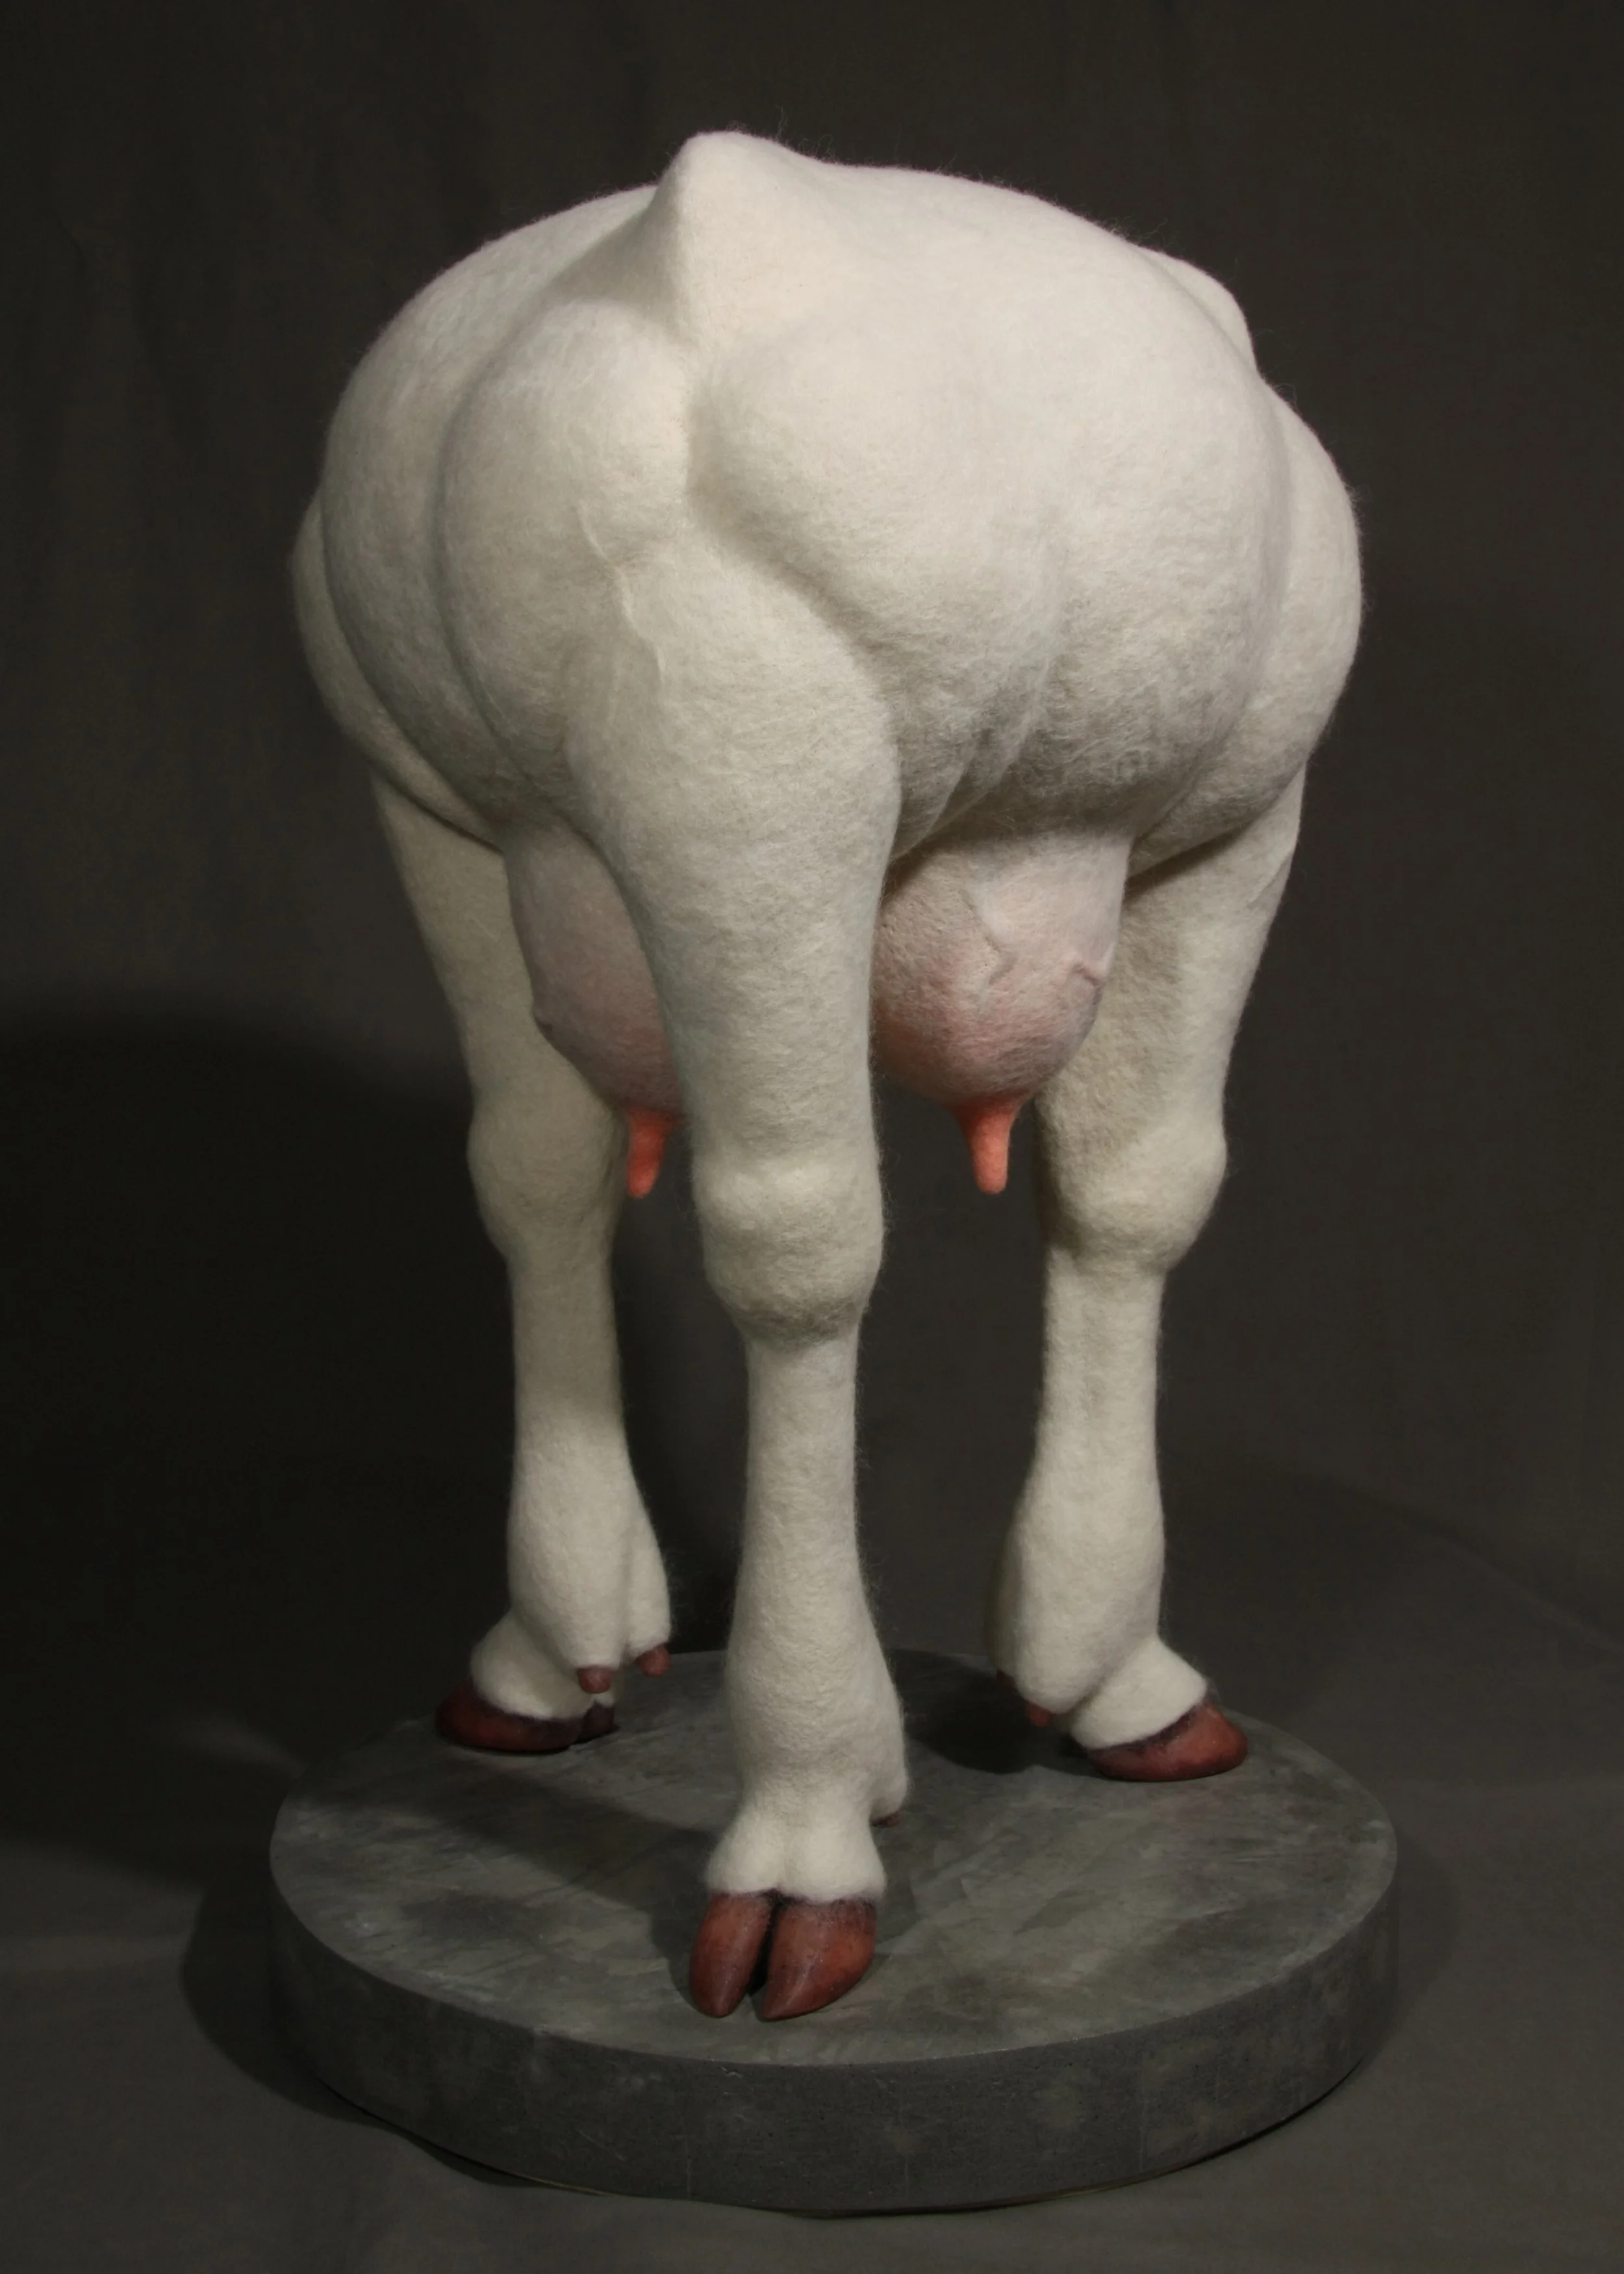
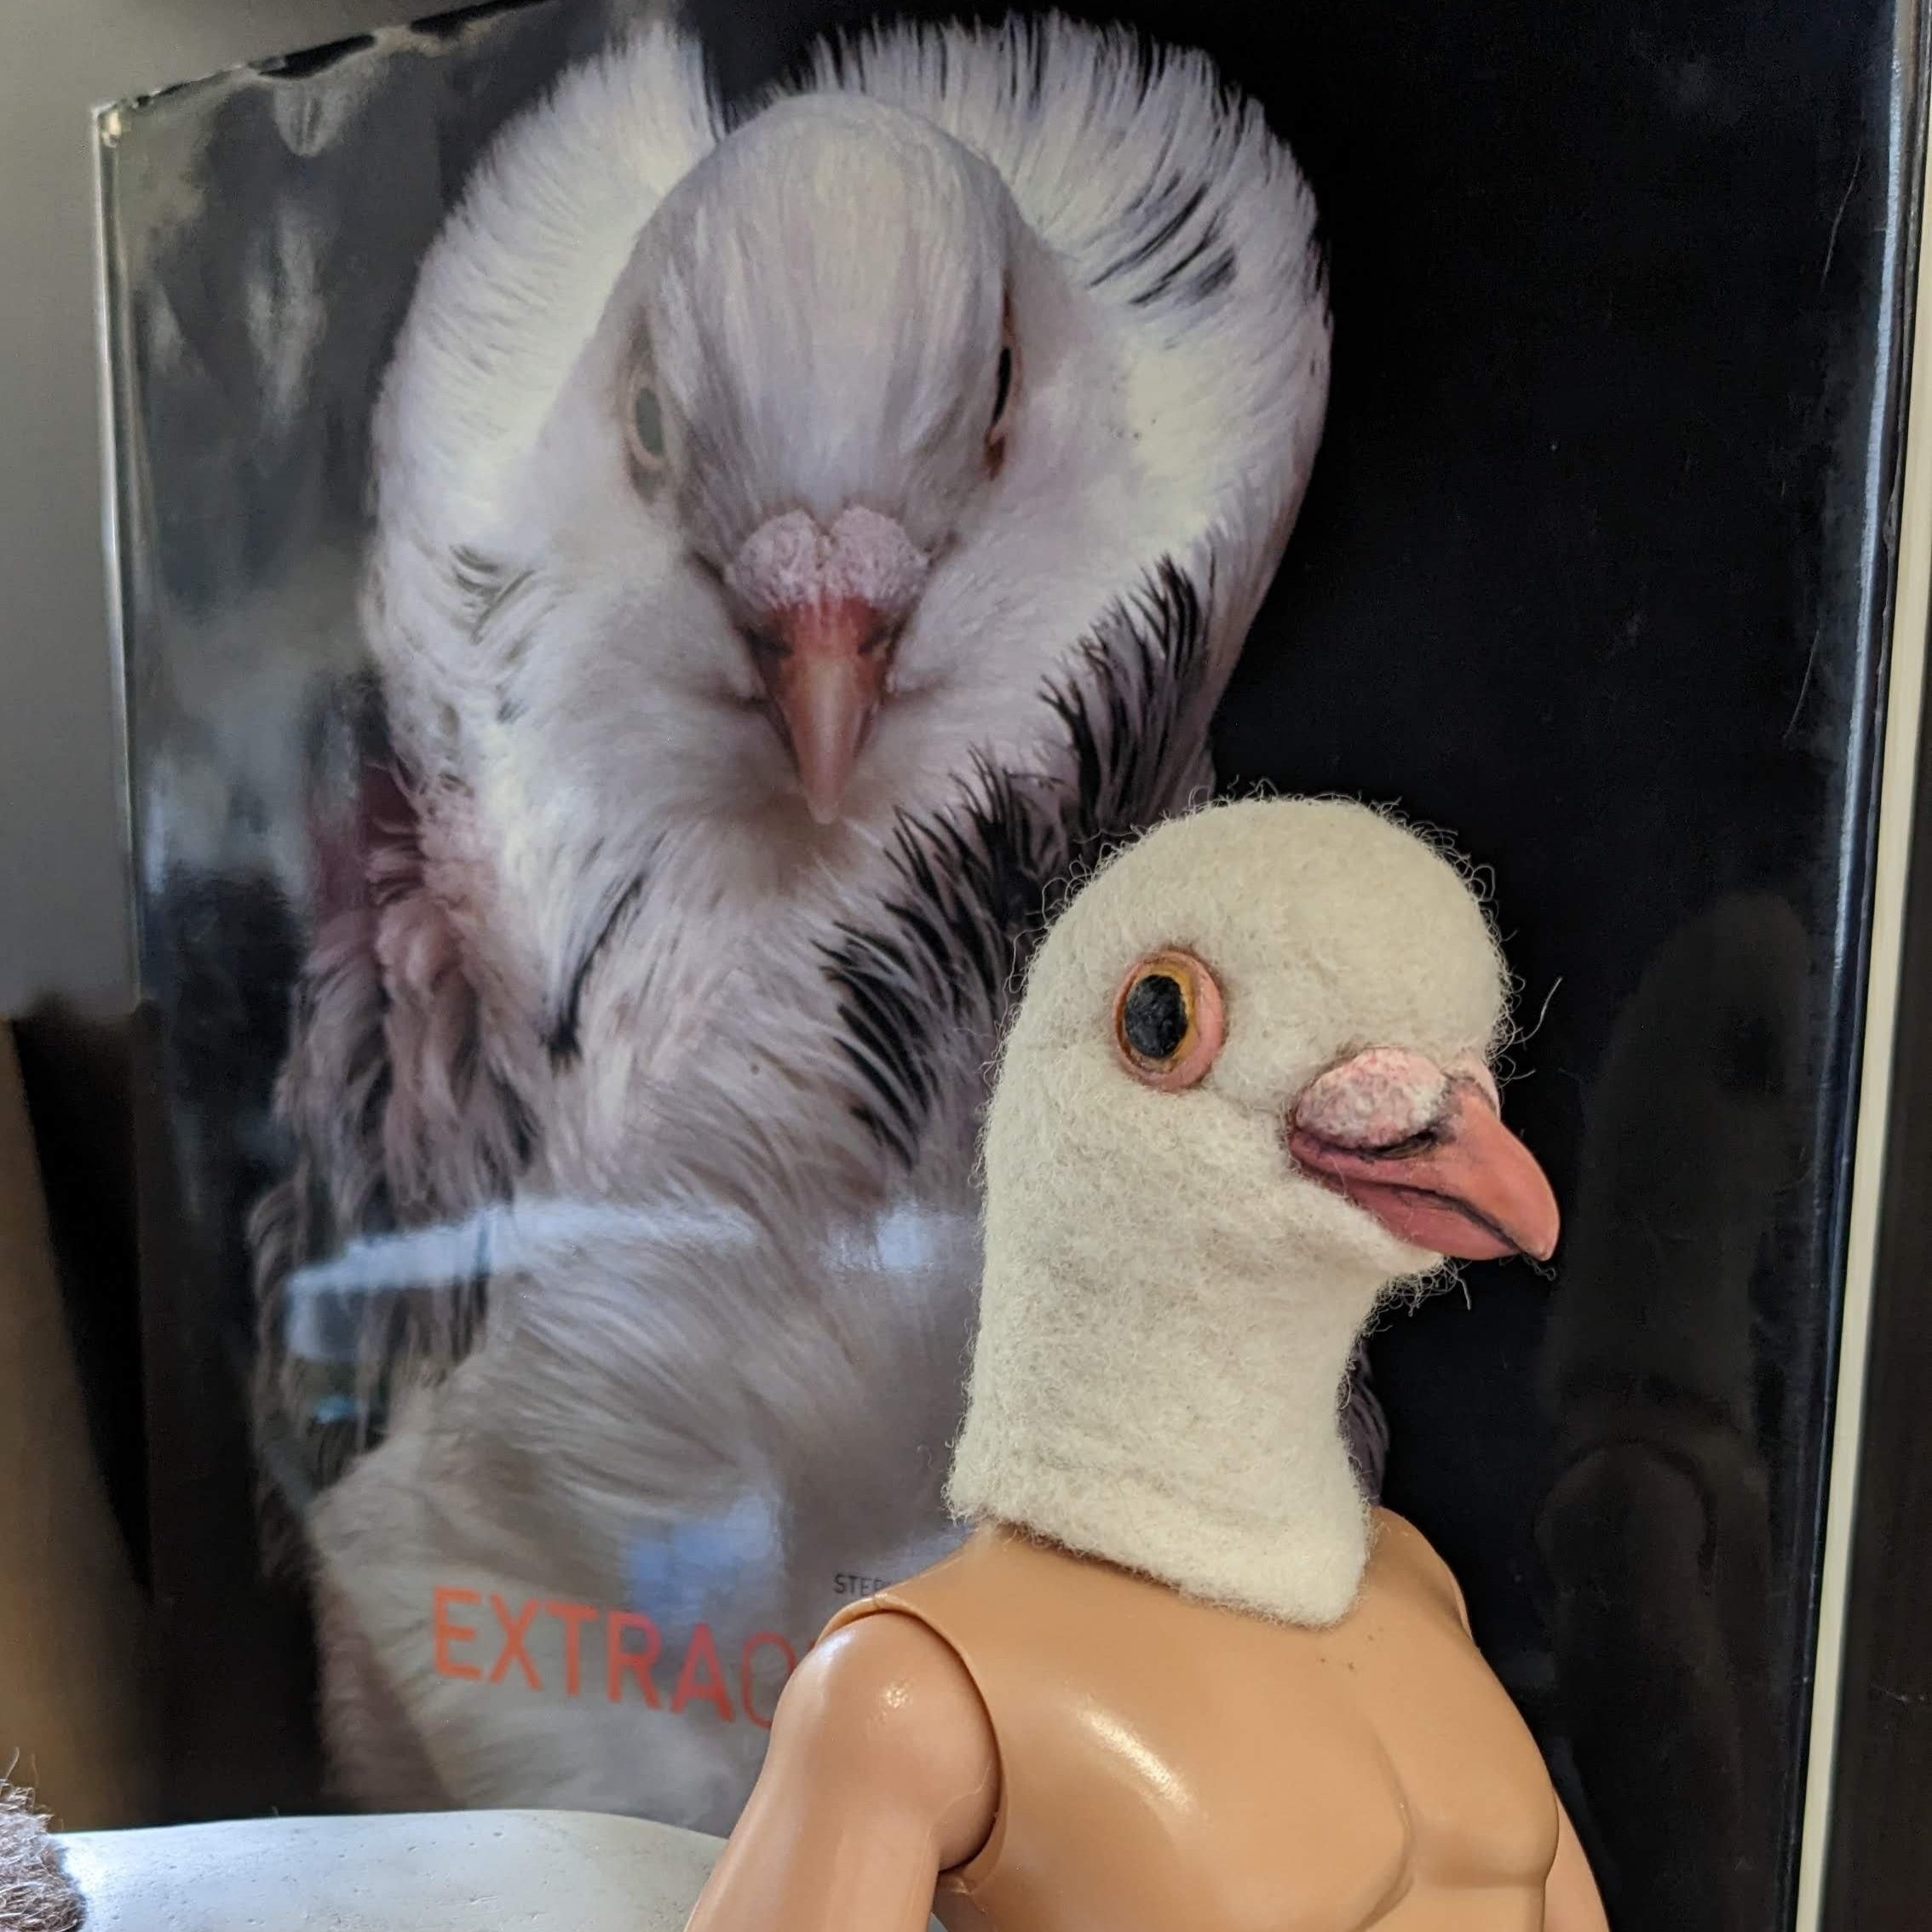
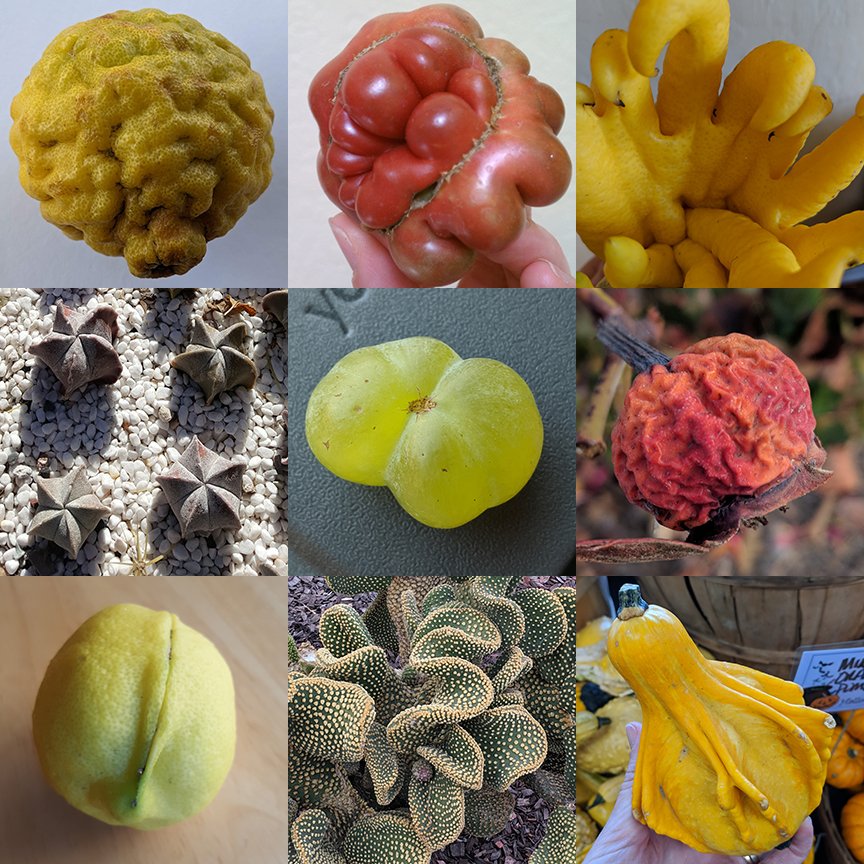
Overbred again

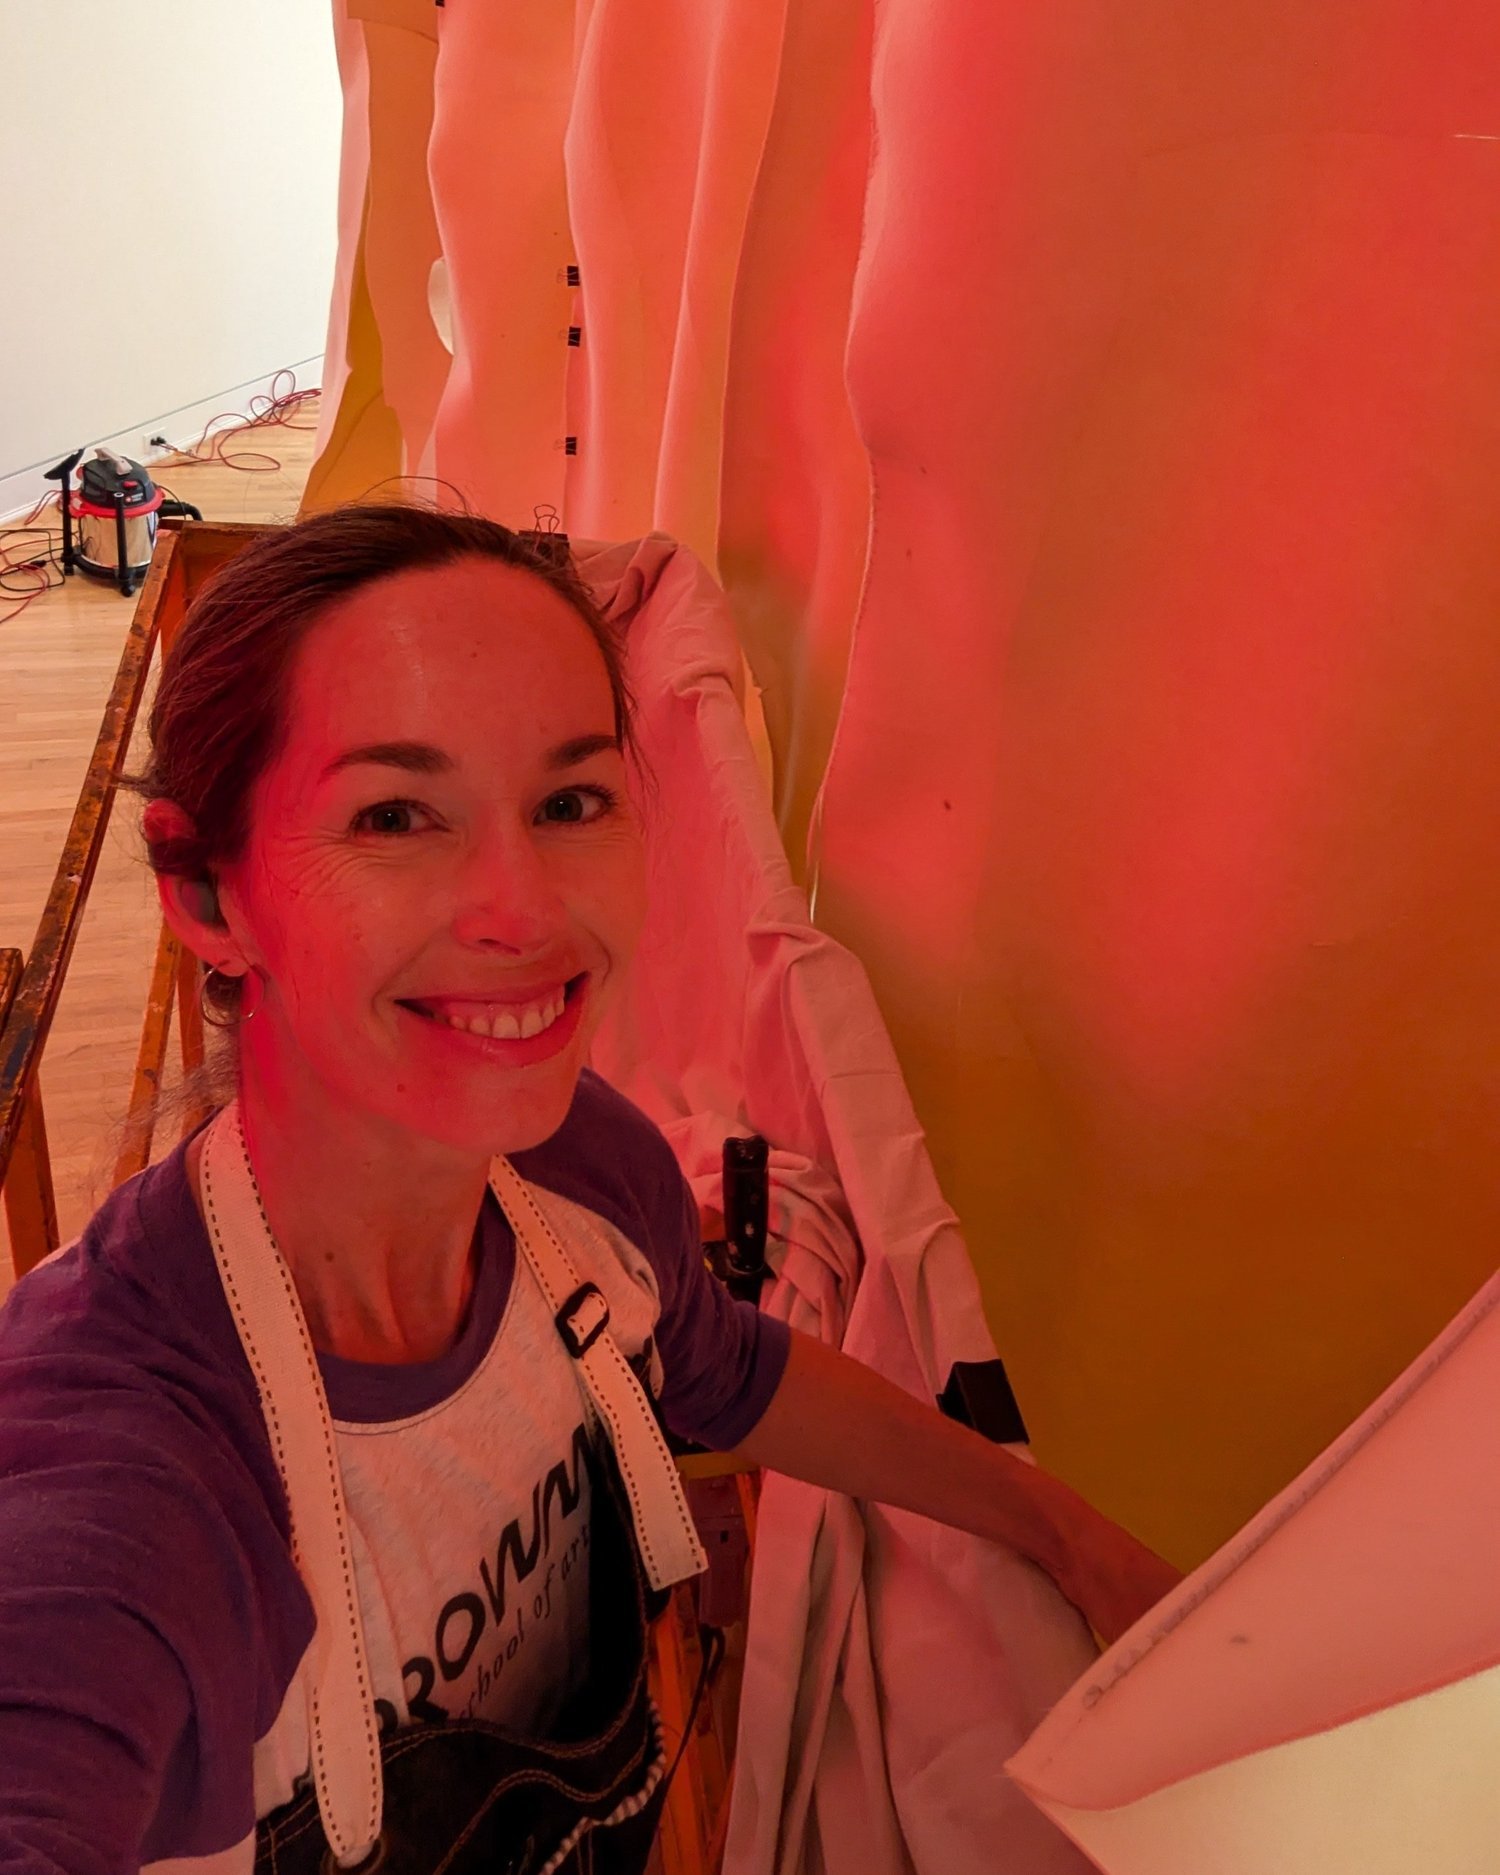

![Words About Sculpture About Touch [Why I Keep Re-Writing My Artist Statement]](https://images.squarespace-cdn.com/content/v1/588d00312e69cf76b7519a11/1738961418785-H0B3DY1FOGSHHLCTODVU/IMG_1562.jpg)