Stephanie Metz
Stephanie Metz
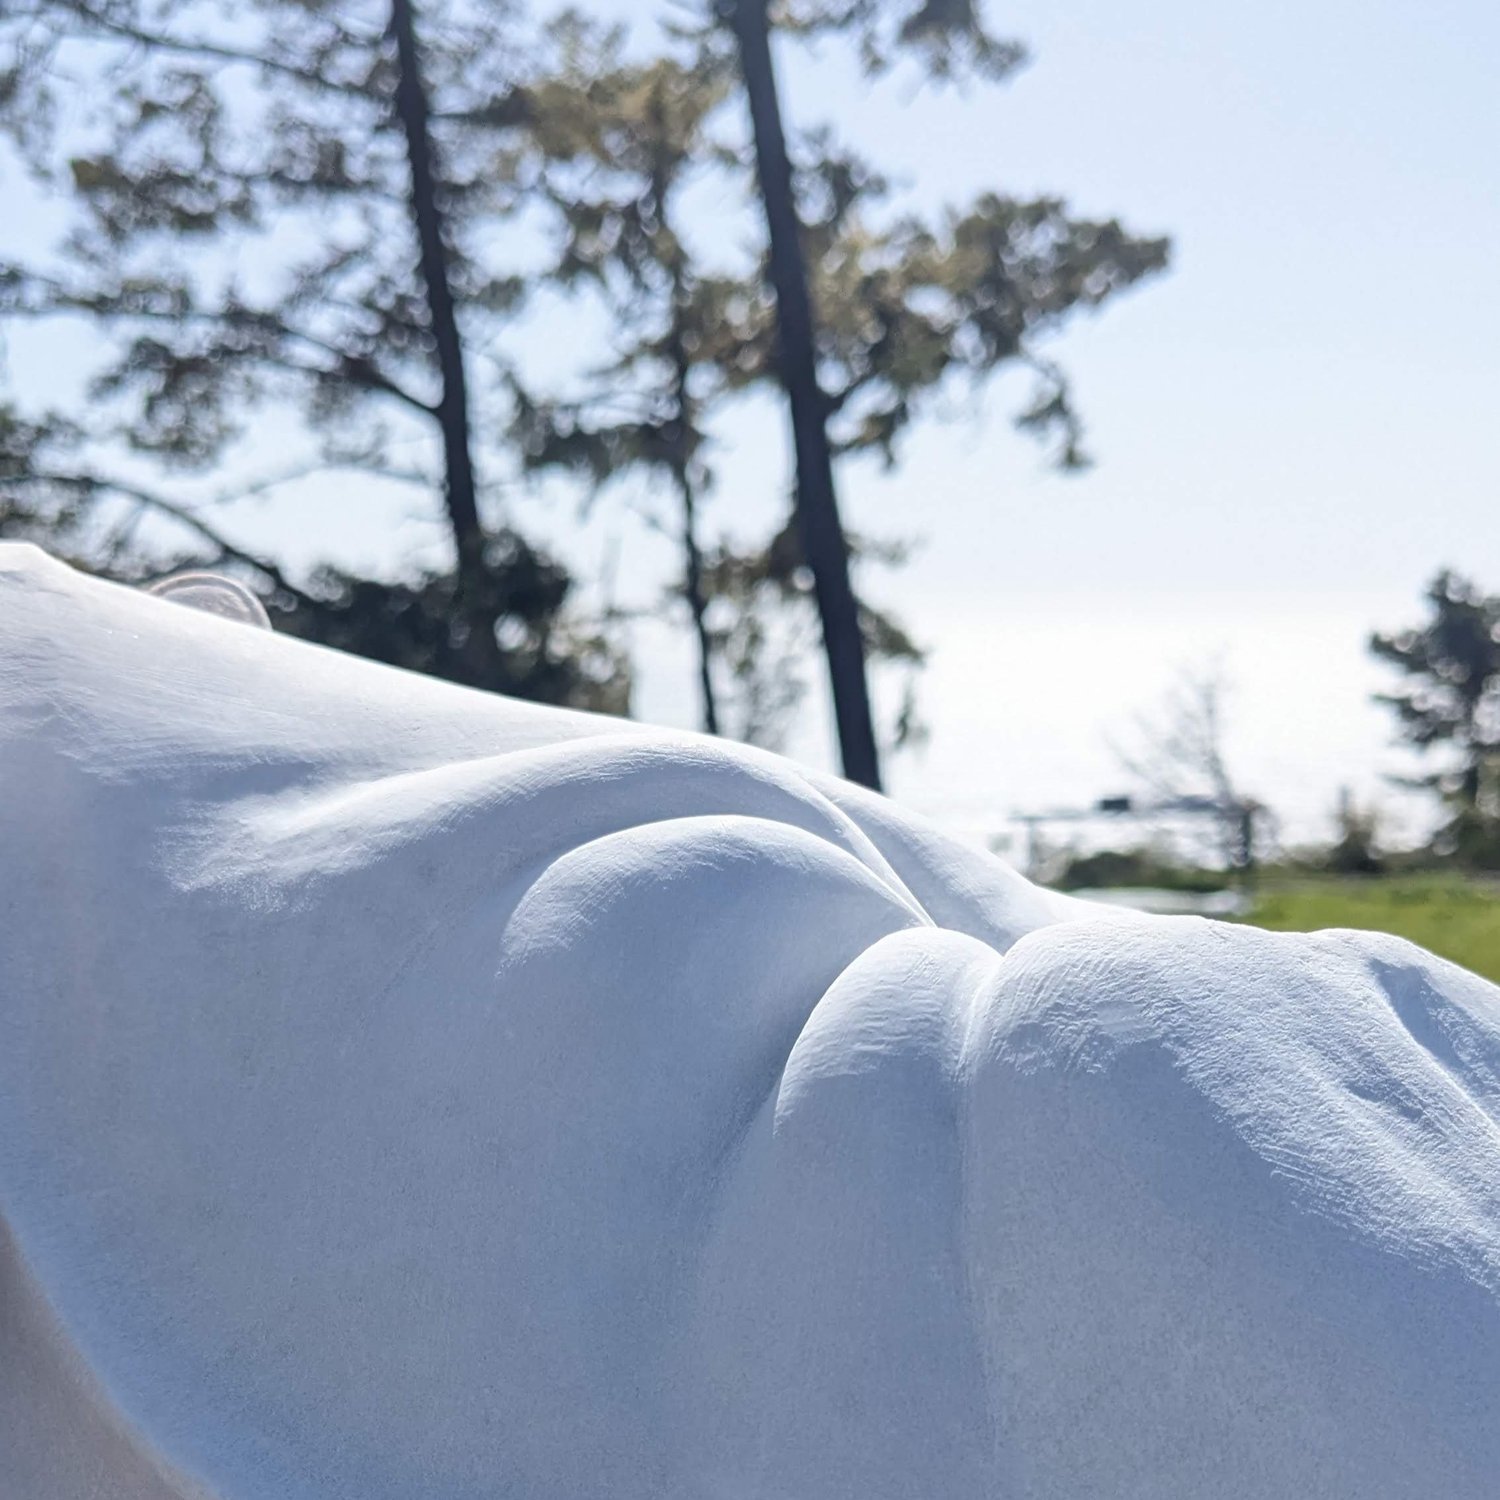
Professional Practices for Artists: The Gift of Attention and Time

![Words About Sculpture About Touch [Why I Keep Re-Writing My Artist Statement]](https://images.squarespace-cdn.com/content/v1/588d00312e69cf76b7519a11/1738961418785-H0B3DY1FOGSHHLCTODVU/IMG_1562.jpg)
Stephanie Metz
Stephanie Metz
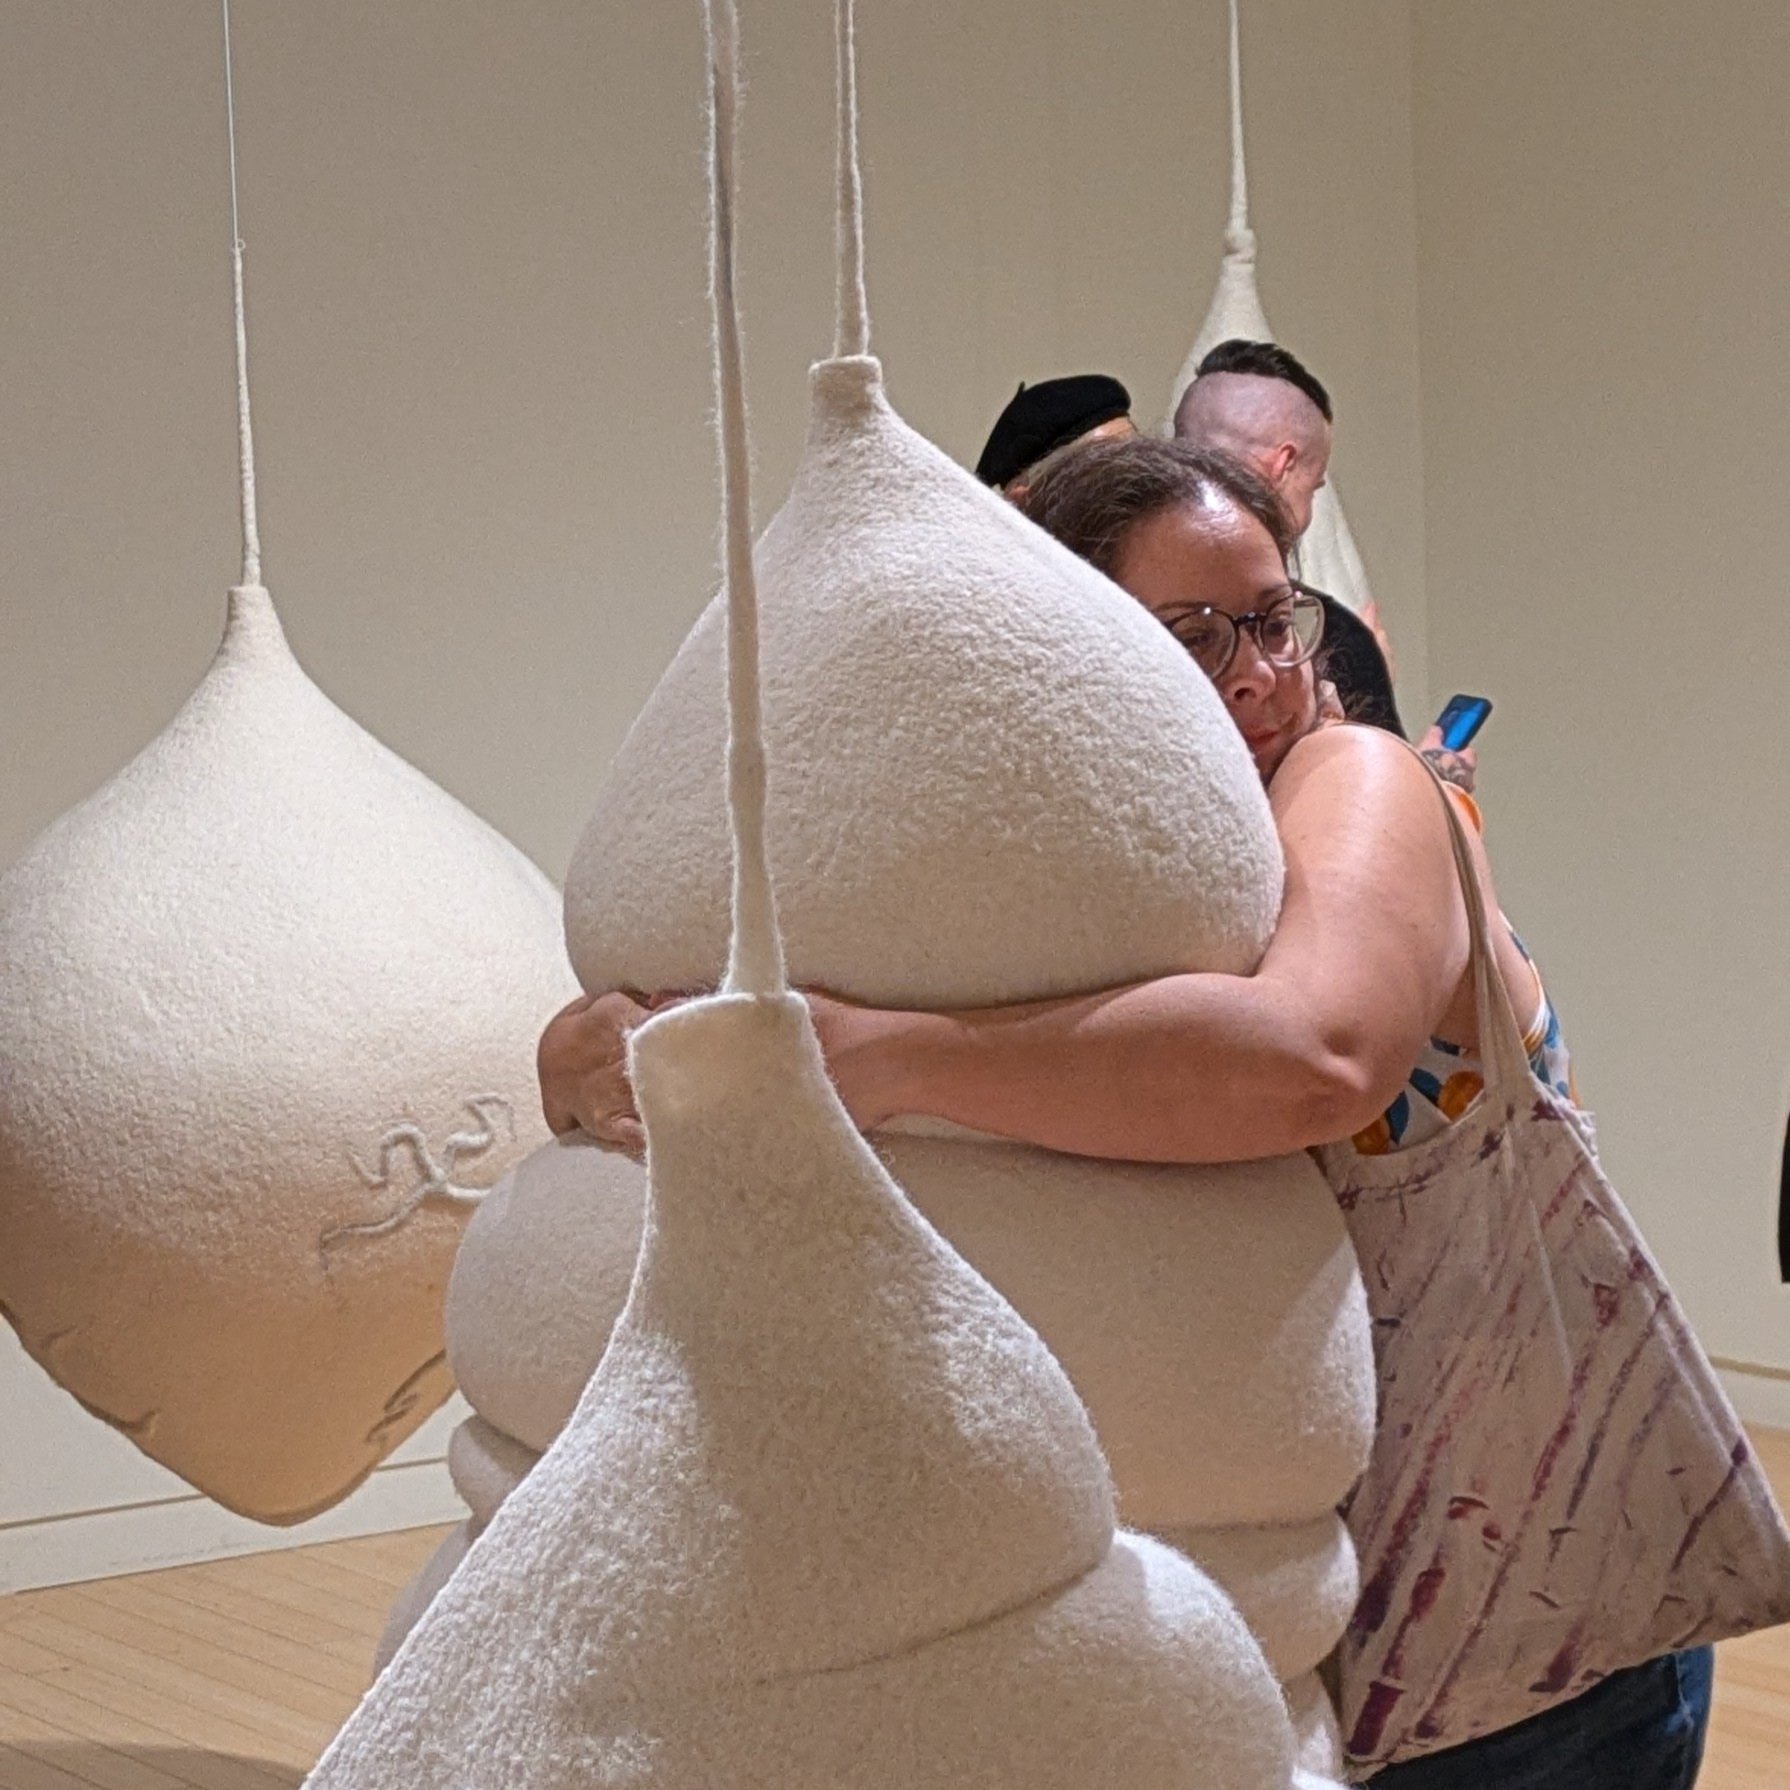
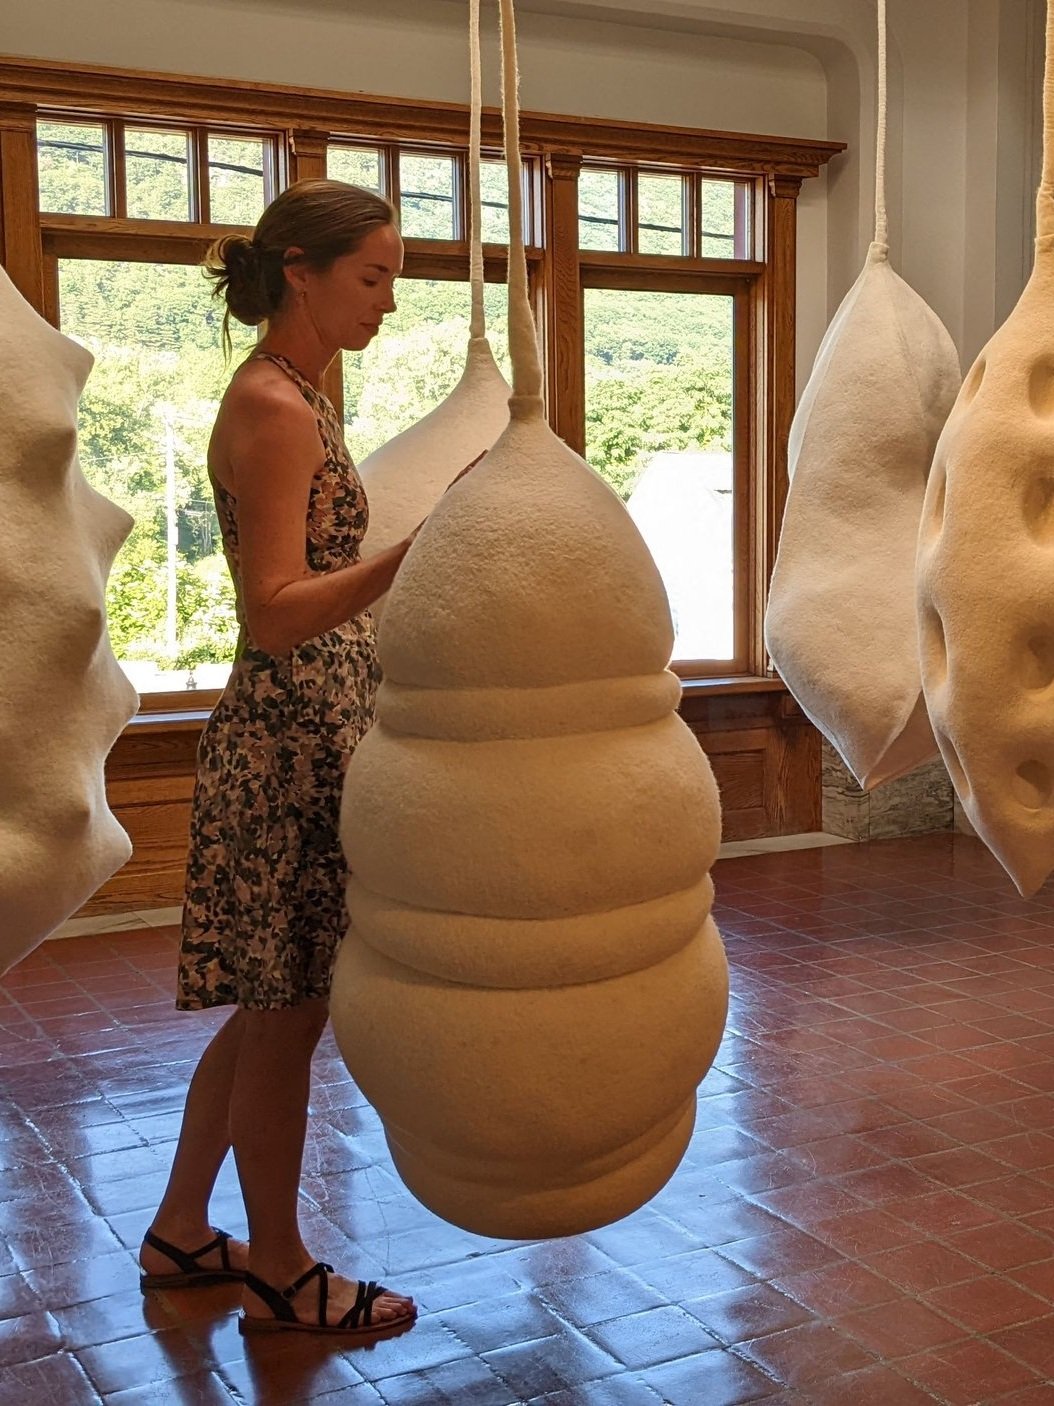
Words About Sculpture About Touch [Why I Keep Re-Writing My Artist Statement]
Stephanie Metz
Stephanie Metz
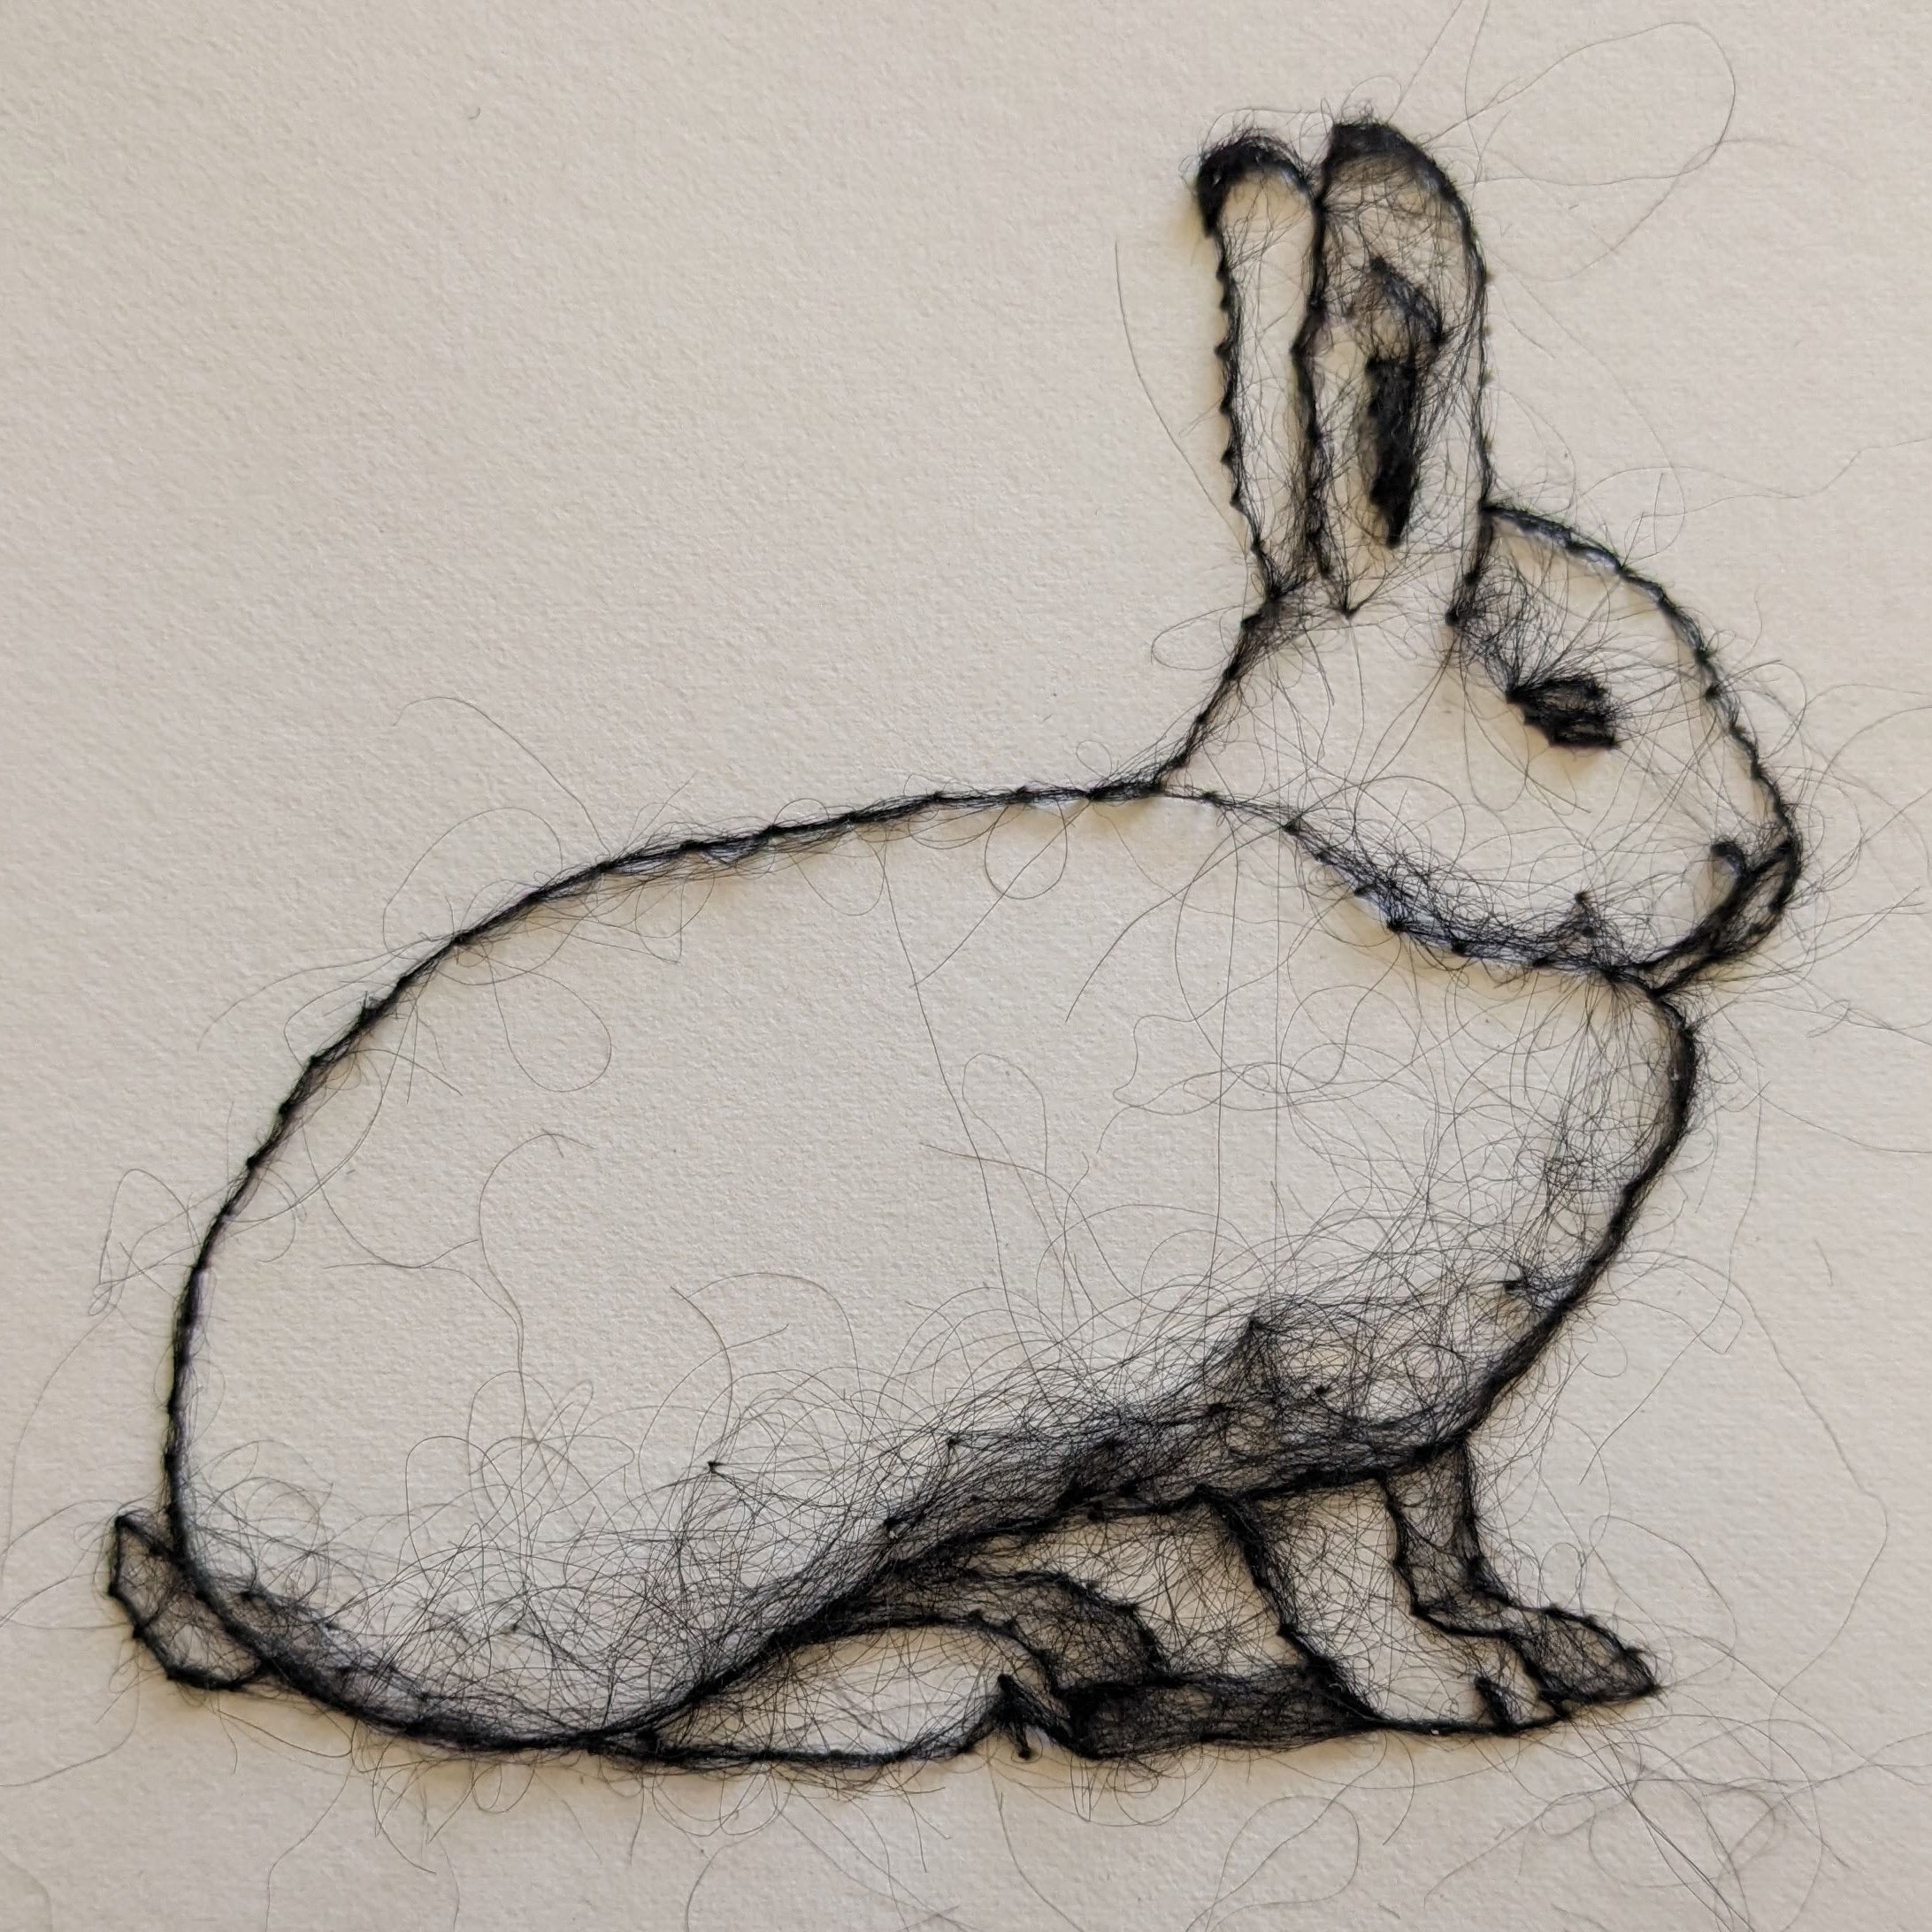
Simply Complex: Why the Simplest Marks Can Take The Longest Time
Stephanie Metz
Stephanie Metz
Why Visit An Artist's Studio? For The Little Things That Are Also The Big Things...
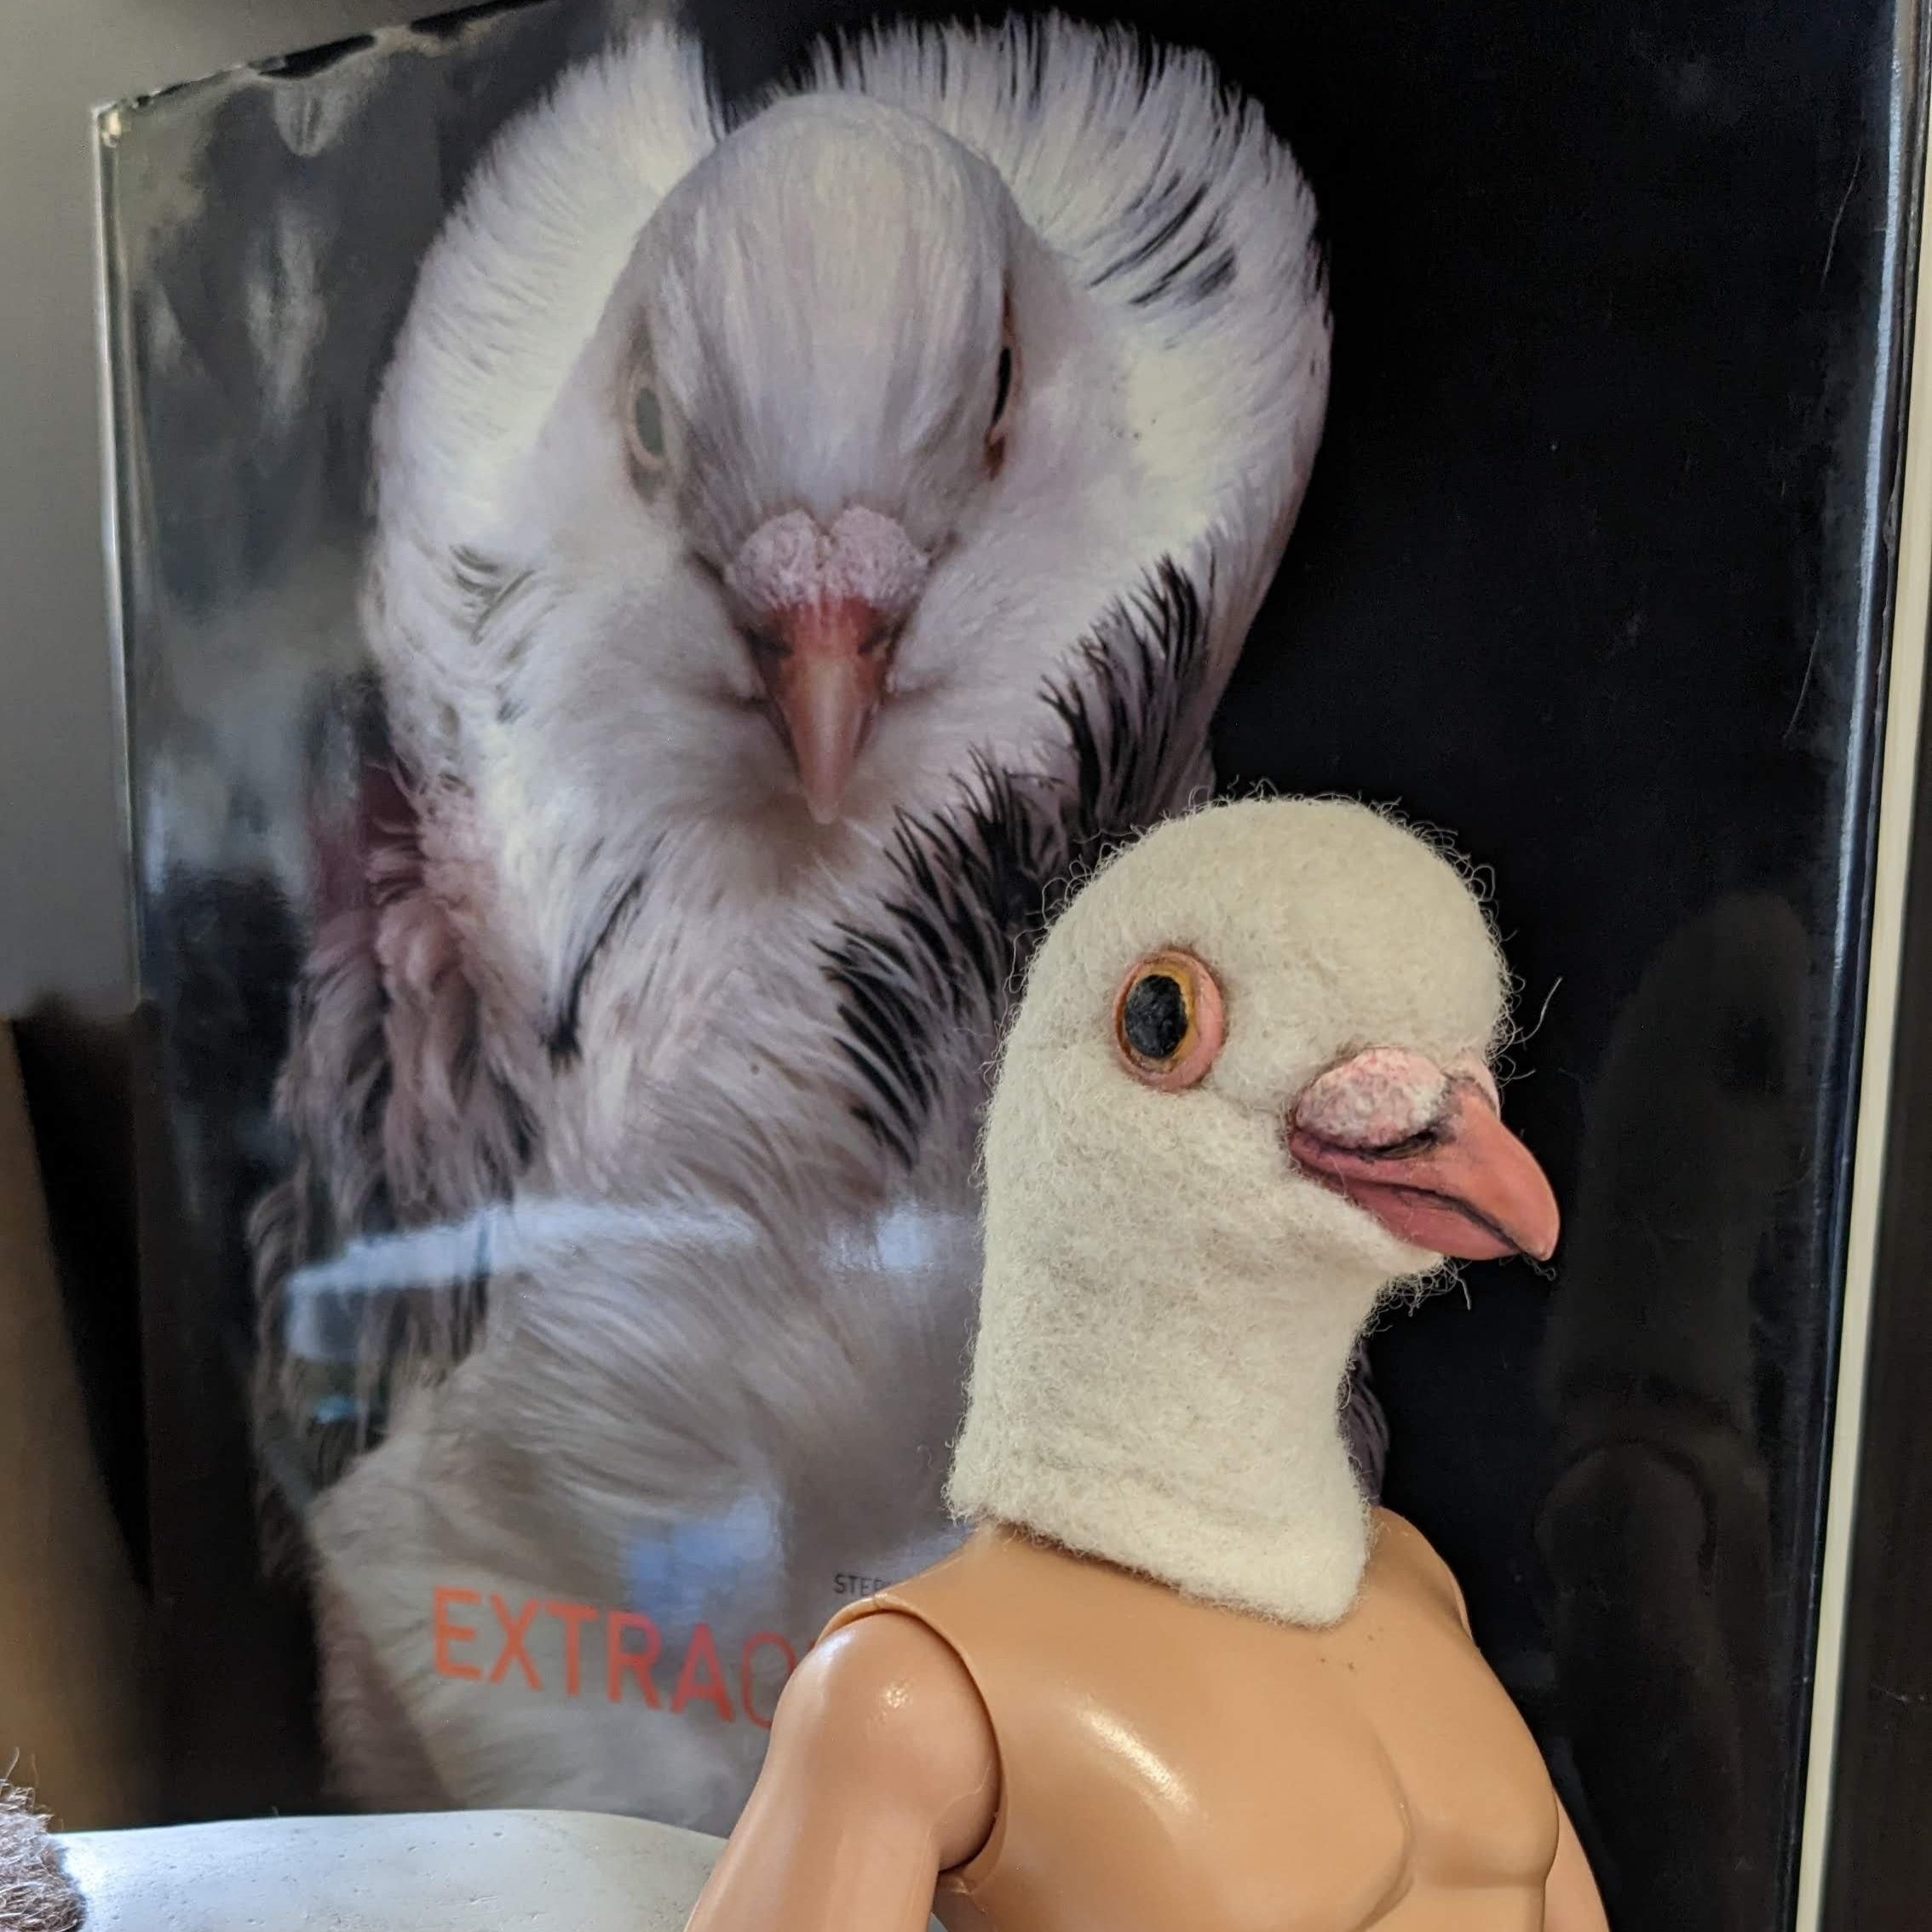
Inspiration,
Process
Stephanie Metz
Inspiration,
Process
Stephanie Metz
Answering Questions About Creativity: Being a Sentient Sponge
Events,
Inspiration,
InTouch
Stephanie Metz
Events,
Inspiration,
InTouch
Stephanie Metz
The Person Behind the Art: Summer Travel & Inspiration
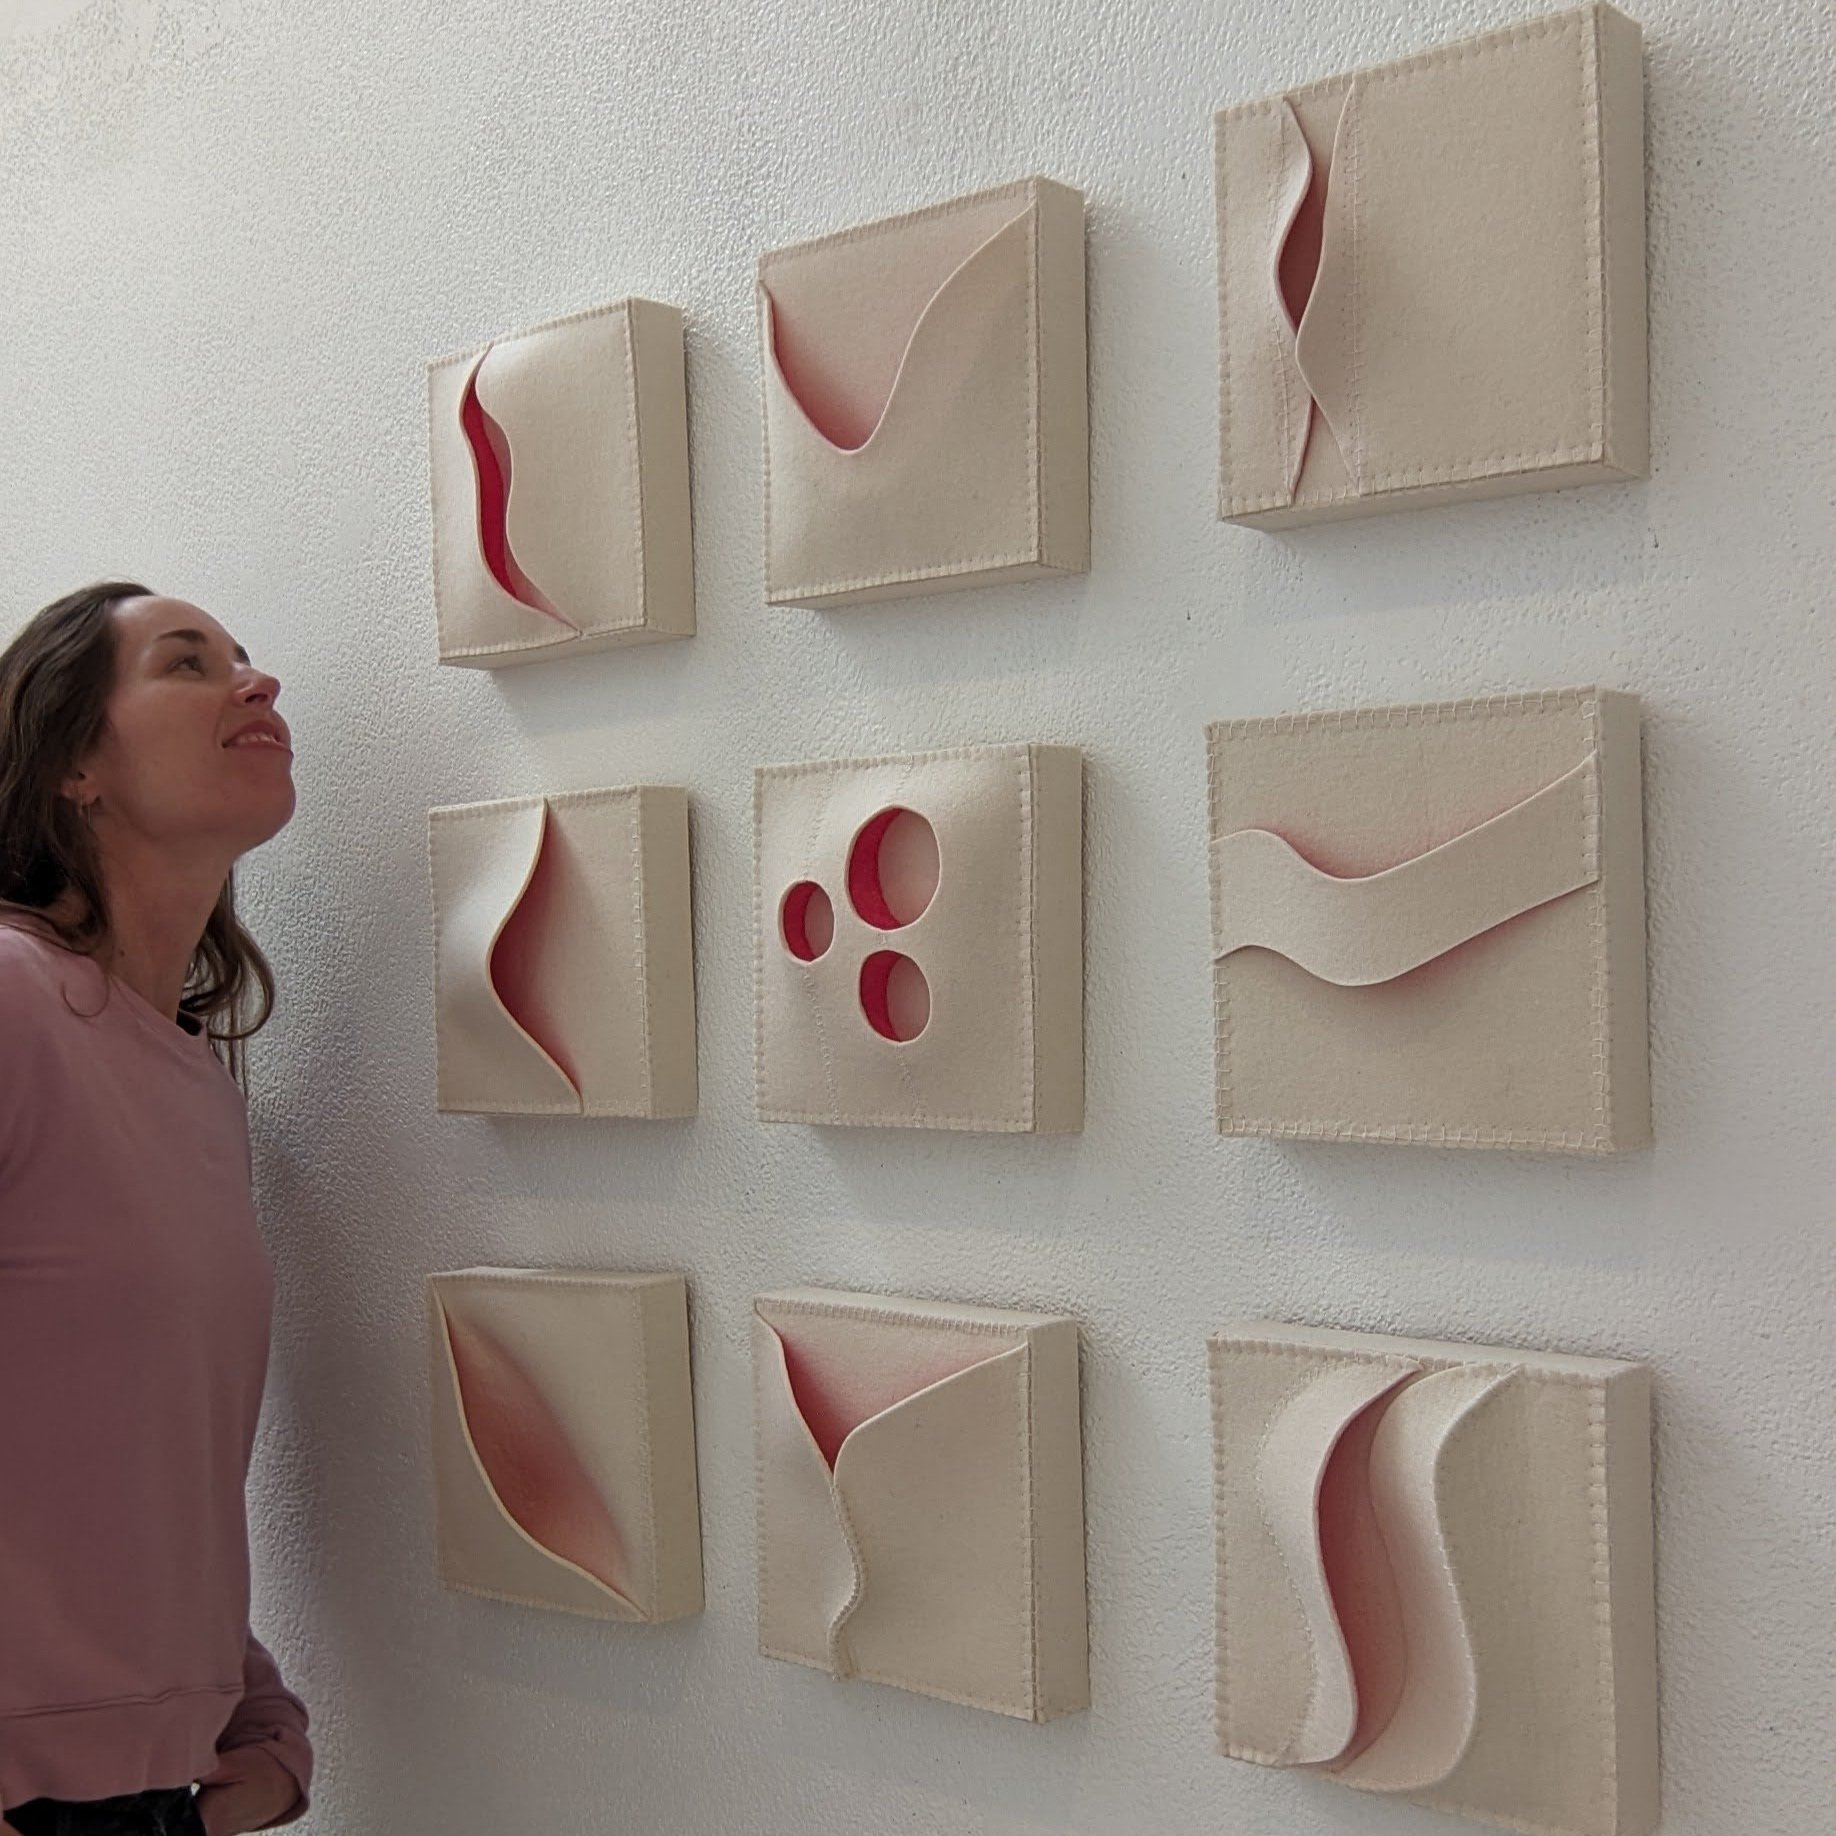
Wall Sculptures
Stephanie Metz
Wall Sculptures
Stephanie Metz
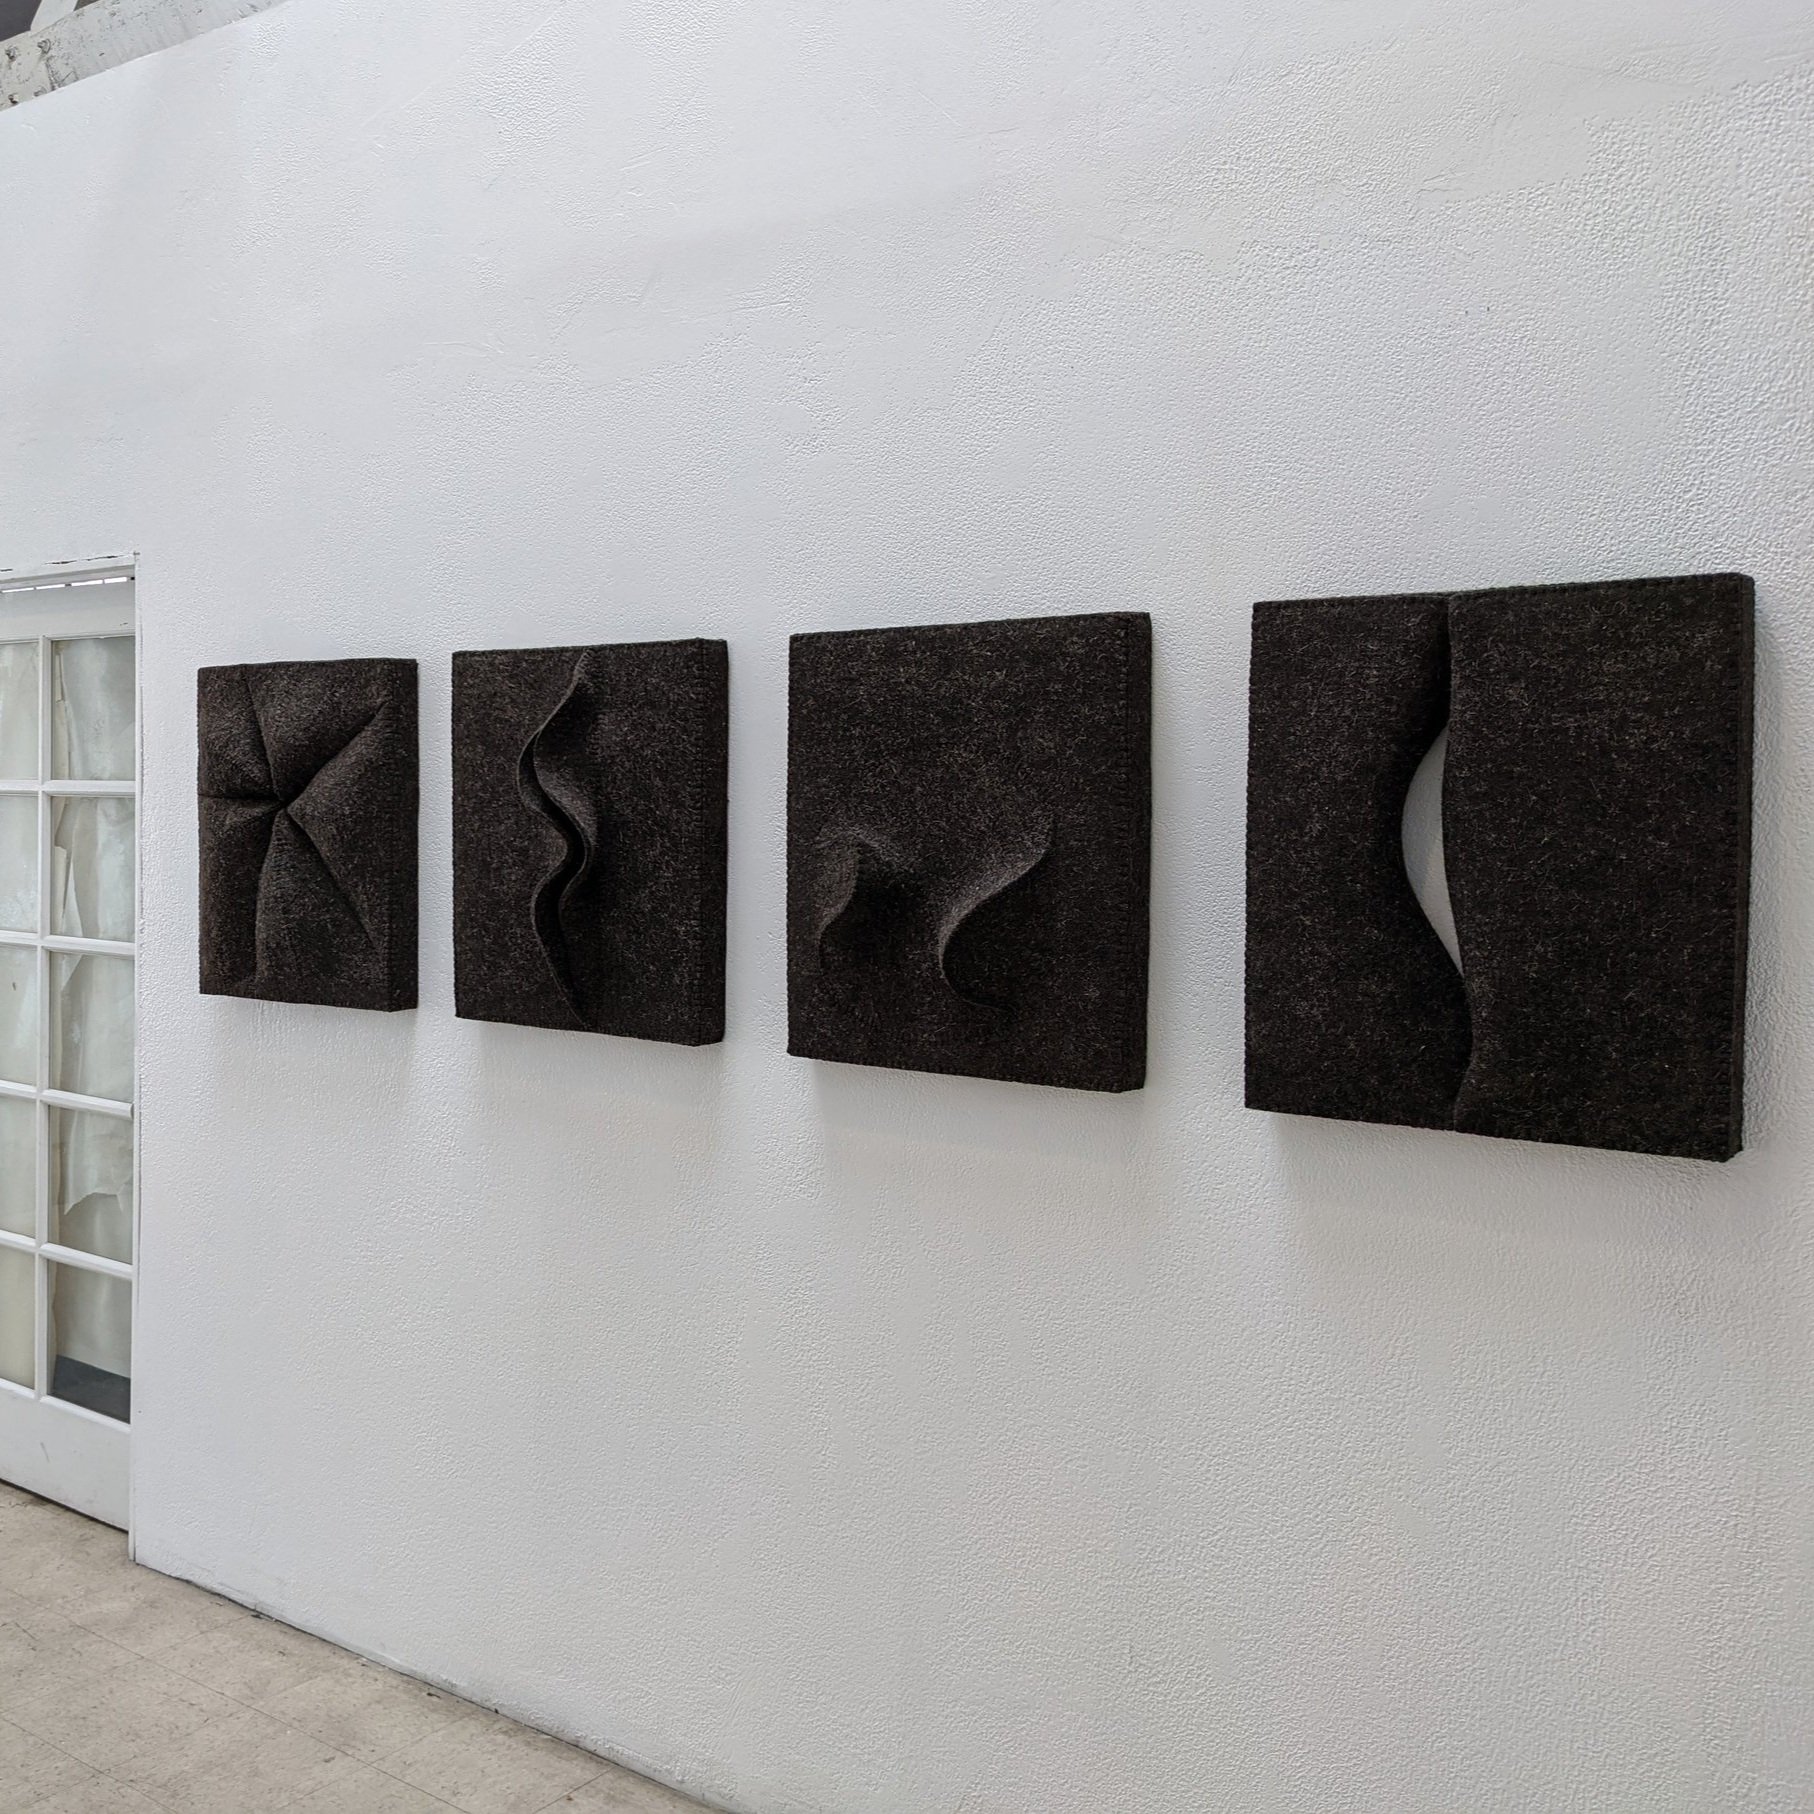
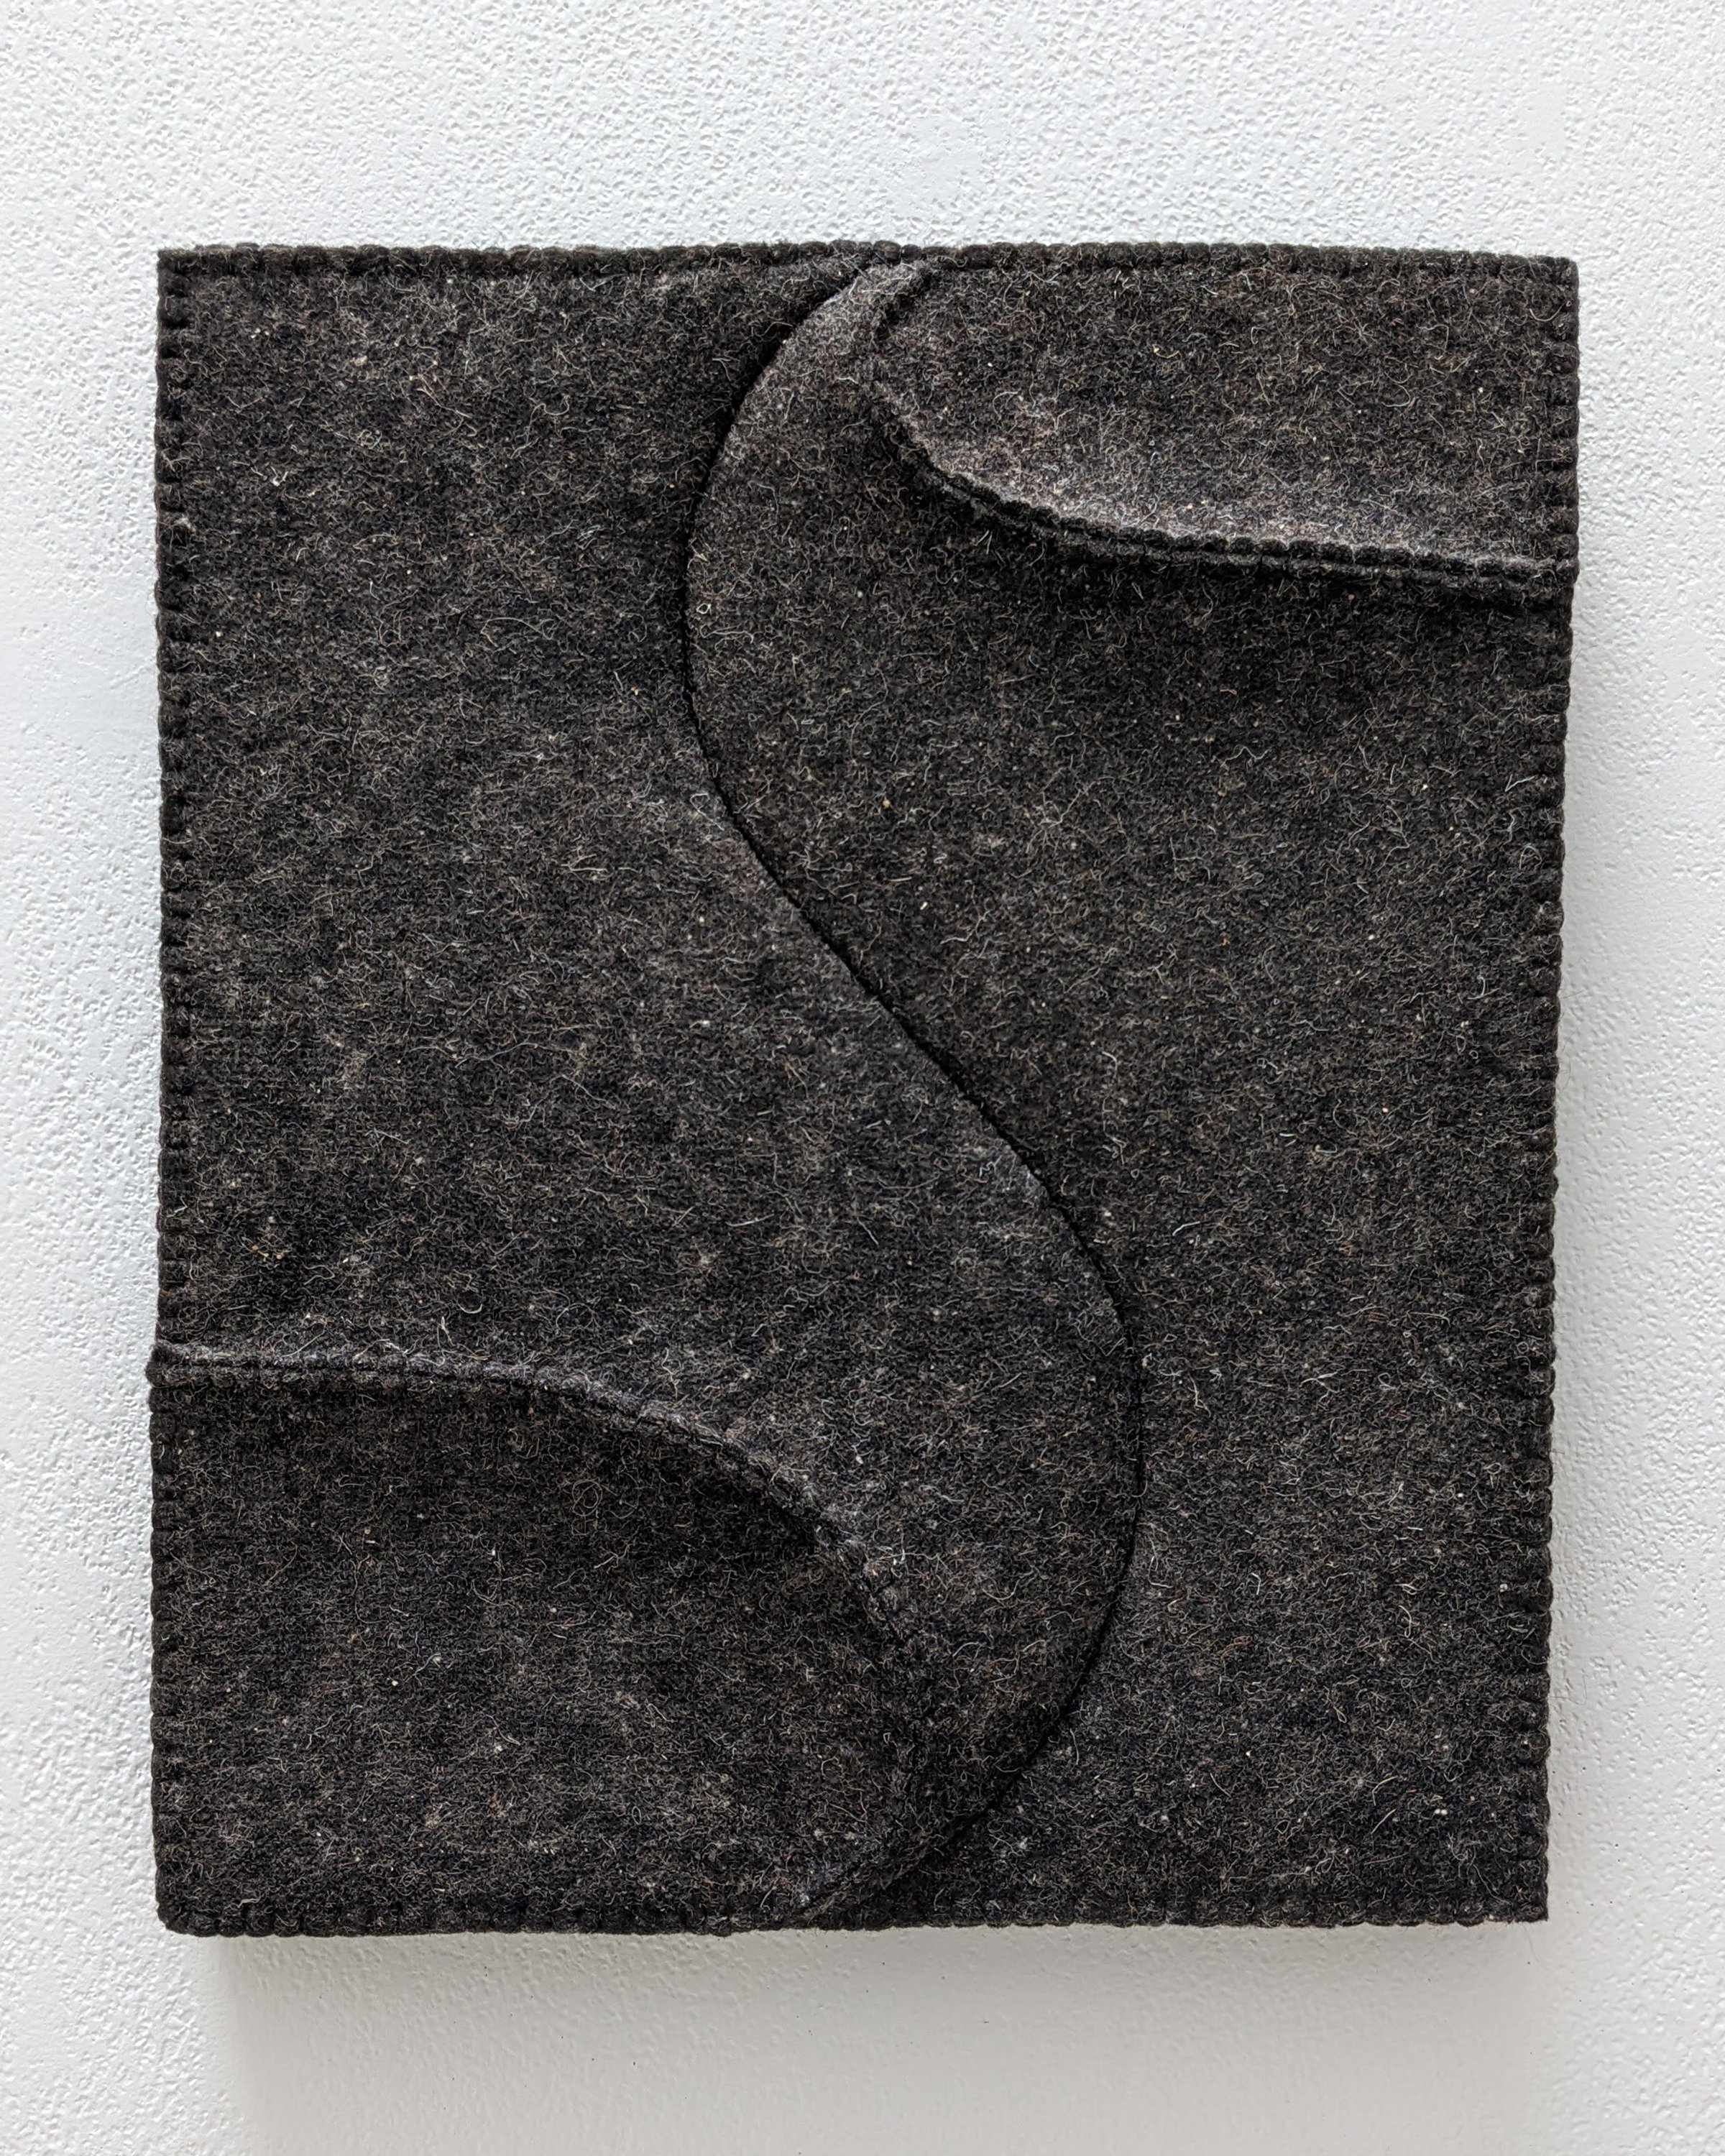
Stitched Industrial Felt Fiber Wall Art: The End of the Grey Curve Composition Series
Inspiration
Stephanie Metz
Inspiration
Stephanie Metz
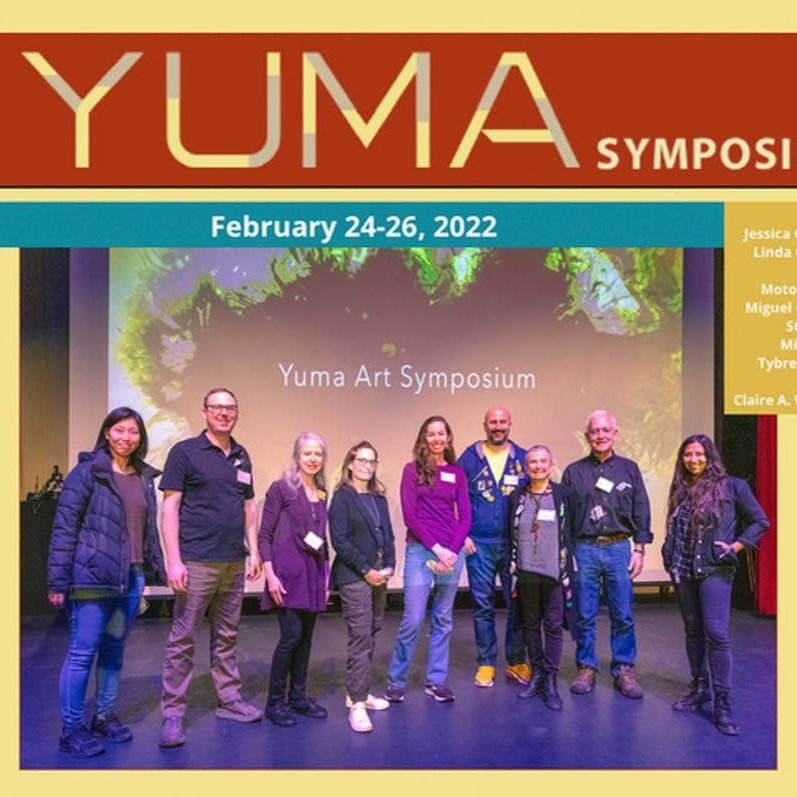
Refilling the Well... the 2022 Yuma Symposium recap
Latest Posts
Featured
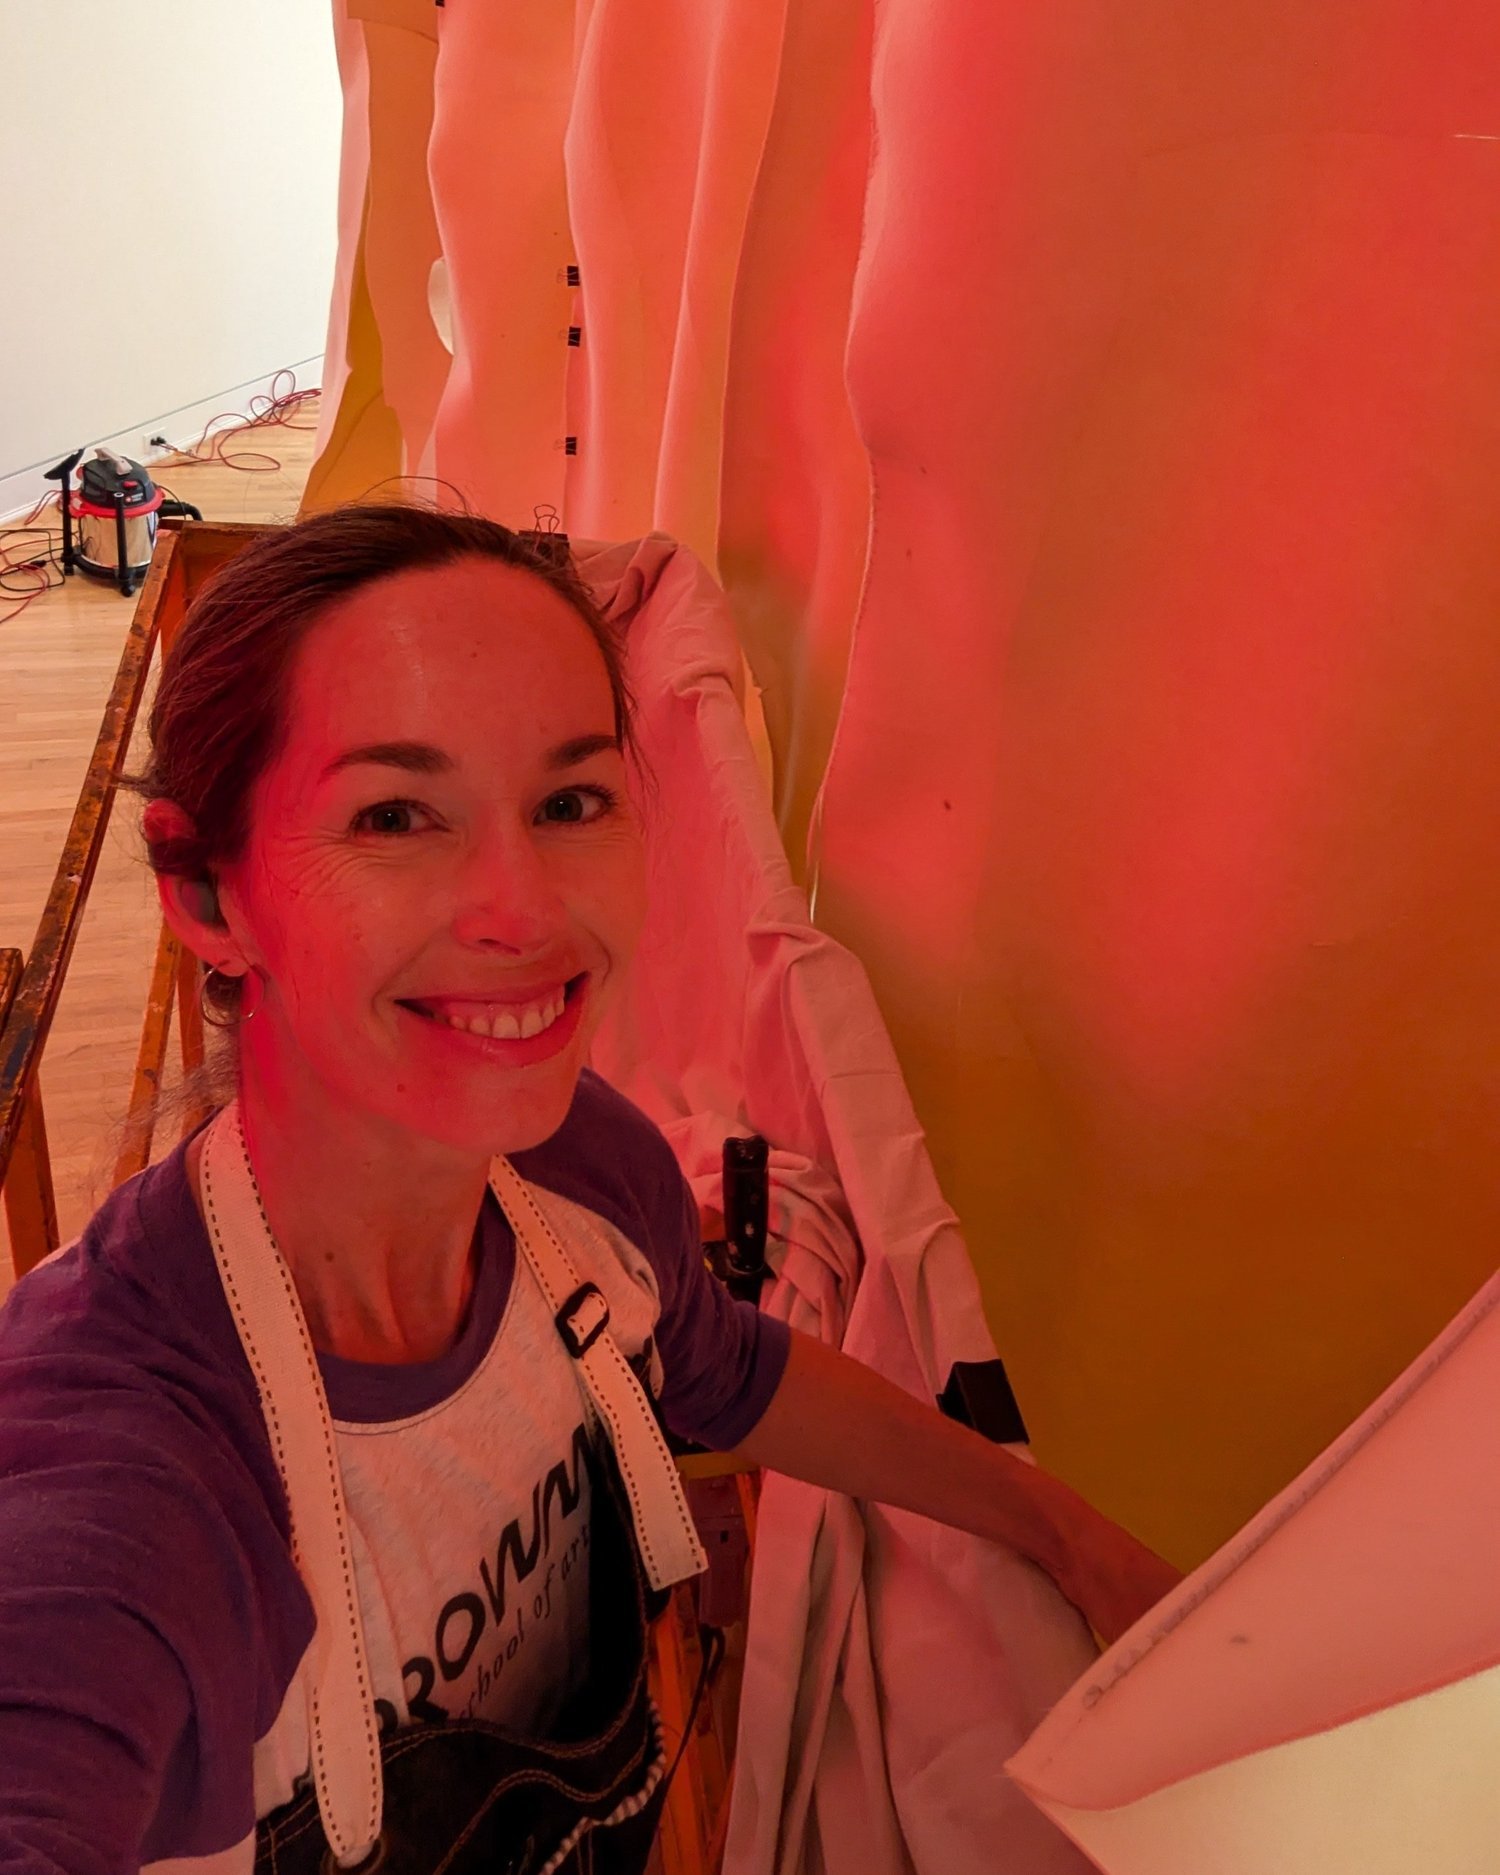
In the Glow: Behind the Scenes