
Corraling Styrofoam: creating a dedicated space in an art studio for messy work
Settling in to my studio has been a gradual process as I prepare the space for the tasks I have planned. I happen to hate cleaning things up, but I love a tidy environment to work in-- so I focus on prevention and try to put systems in place to deal with messes ahead of time. To that end, I knew I would be carving some styrofoam models for larger pieces (don't worry, I'm recycling through repurposing) and want to contain the tiny static-infused bits as much as possible, so I took a note from some home remodeling we did and enclosed a corner of the studio in heavy plastic specifically to work with styrofoam. I still have to vacuum up all the bits when I'm done for the session, but the zippered door and taped-down-to-the-floor plastic walls help me keep the bits from traveling all over. I wear coveralls to work with styrofoam and have to use the shop vac on myself when I'm done, too. But I'm reclaiming the bits to use inside finished stitched pieces, so there's very little waste, and patting myself on the back makes it easier to deal with the cringey mess of EPS.
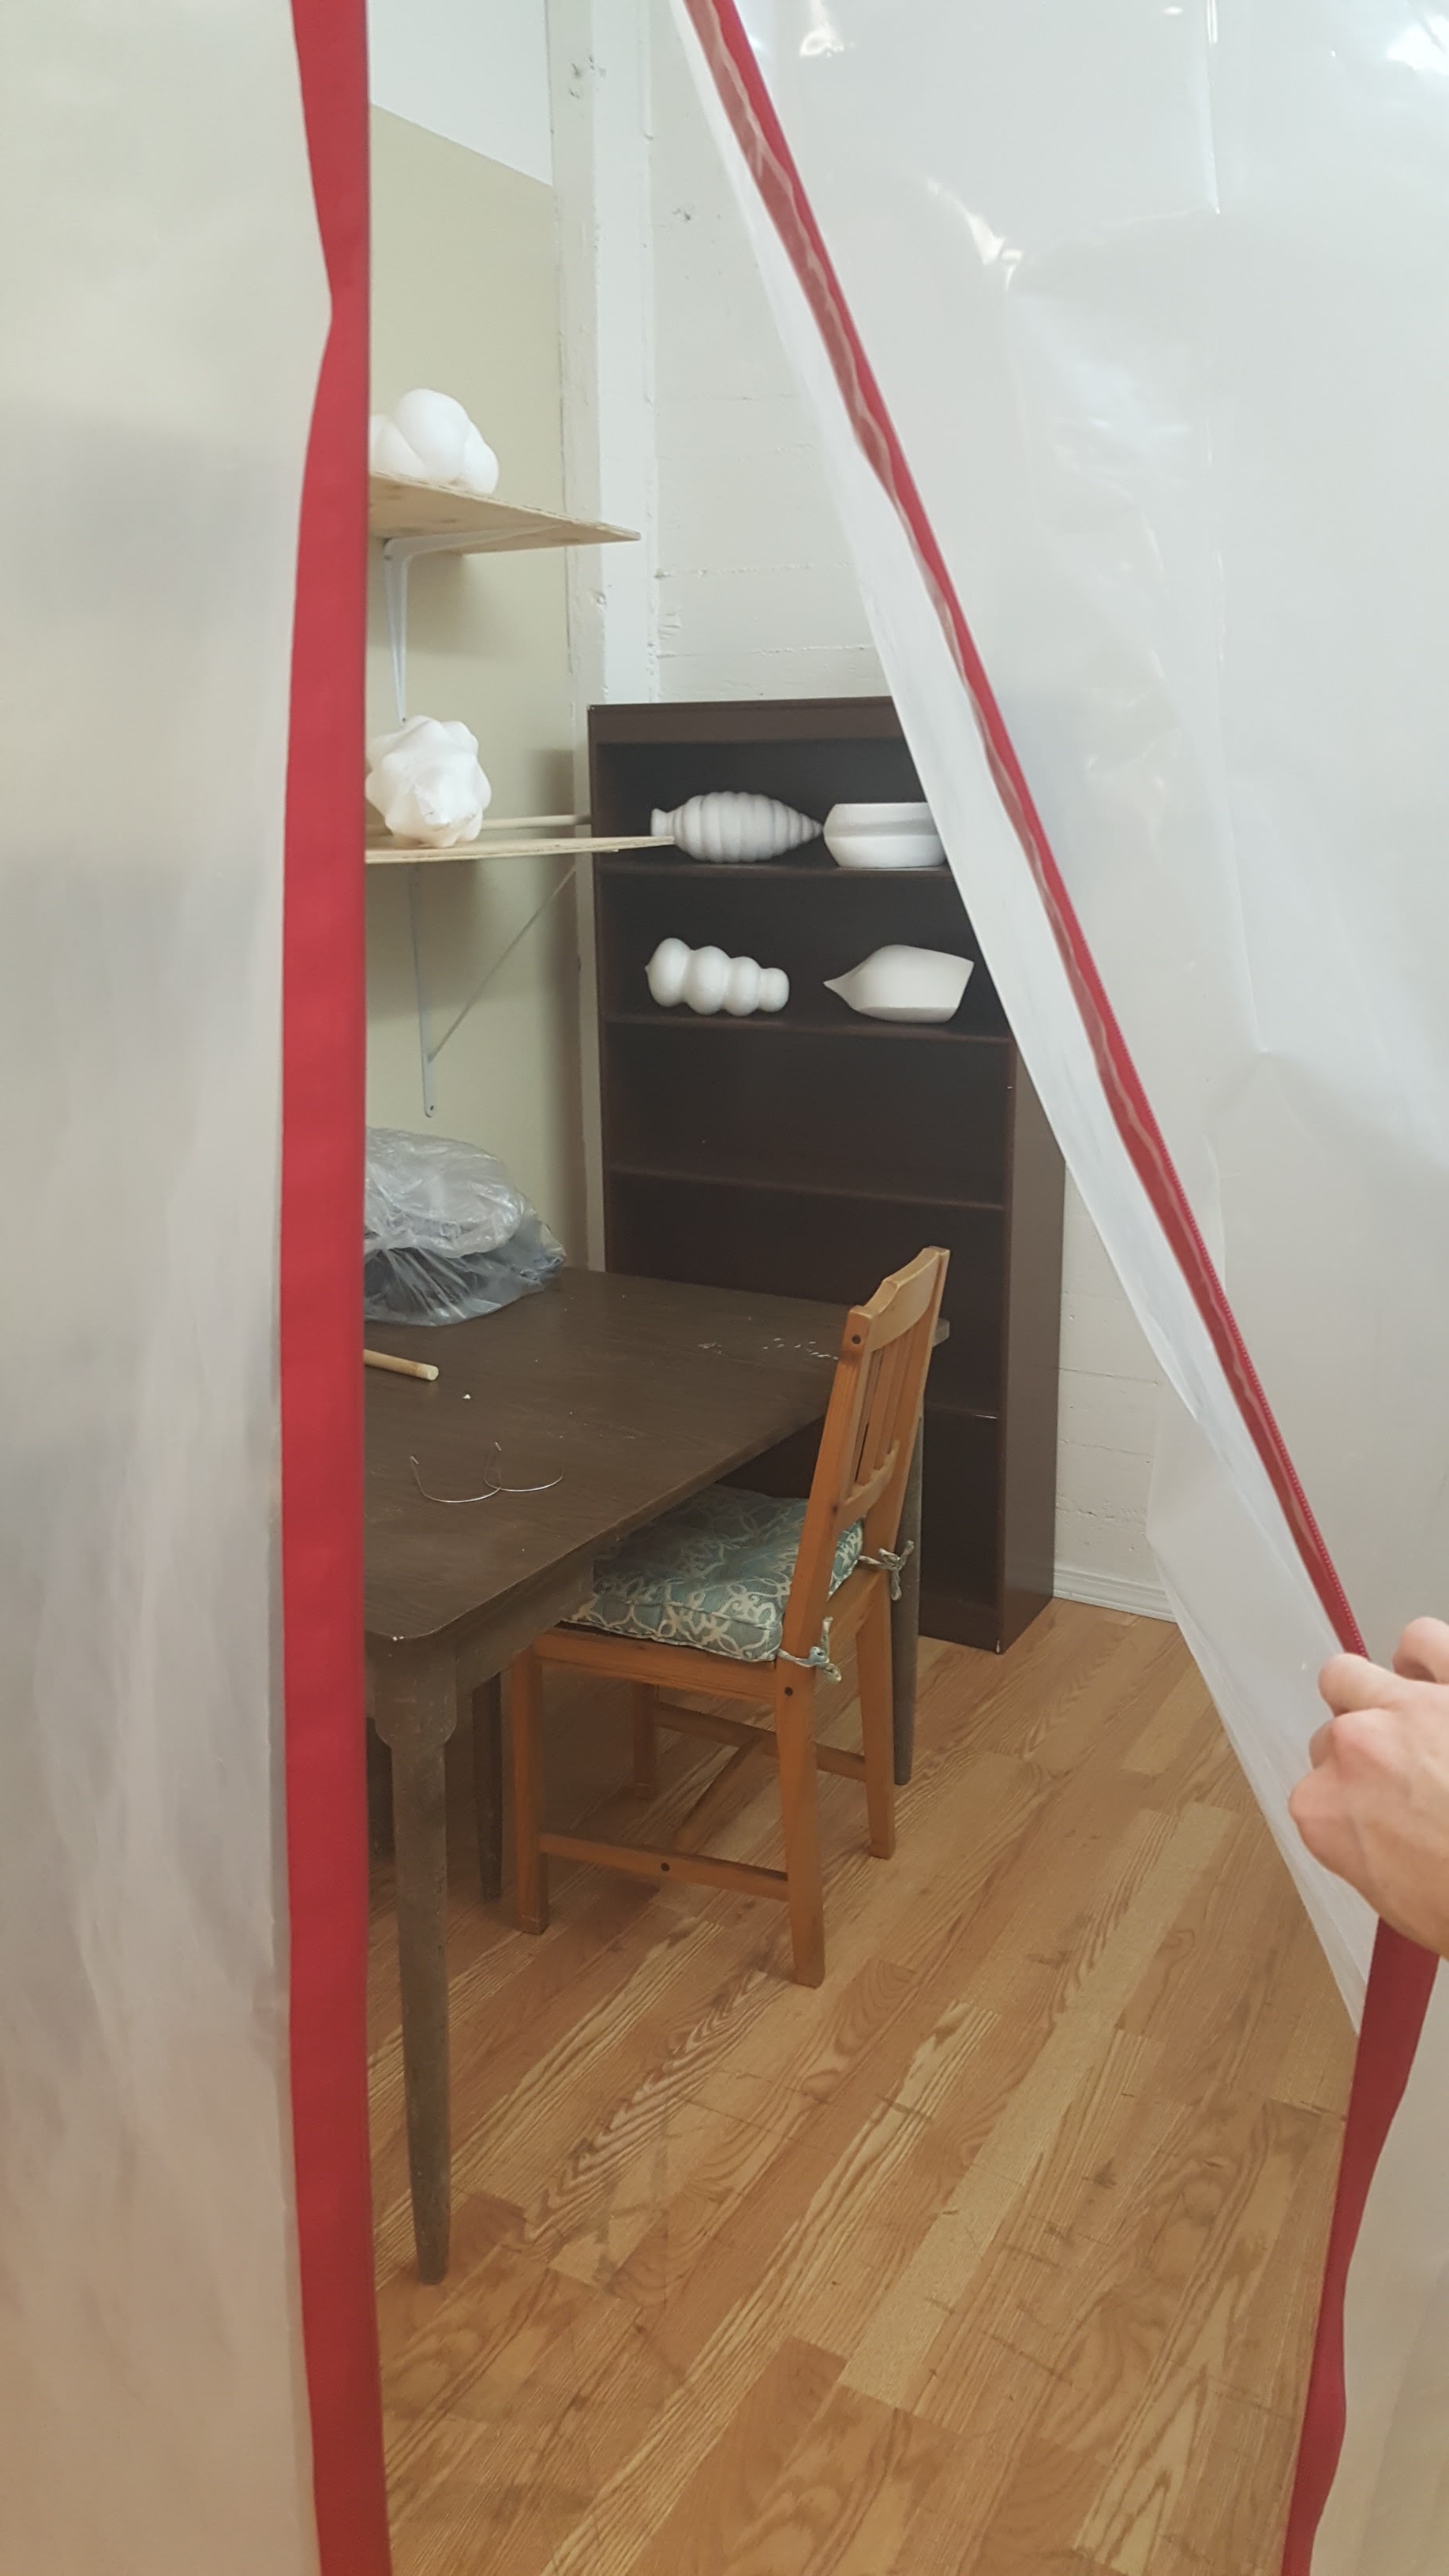
Dedicated foam-friendly workspace...

Laying out plastic on the blessedly large floor in order to stick on the zipper door kit-- basically two long zippers with sticky sides you can apply to the plastic, then cut in the center.

A view towards the styrofoam carving area in the back left.